Tape Restoration I
Background

Even if Tapes are considered to be a reliable media to save data to, there are some problems which are common.
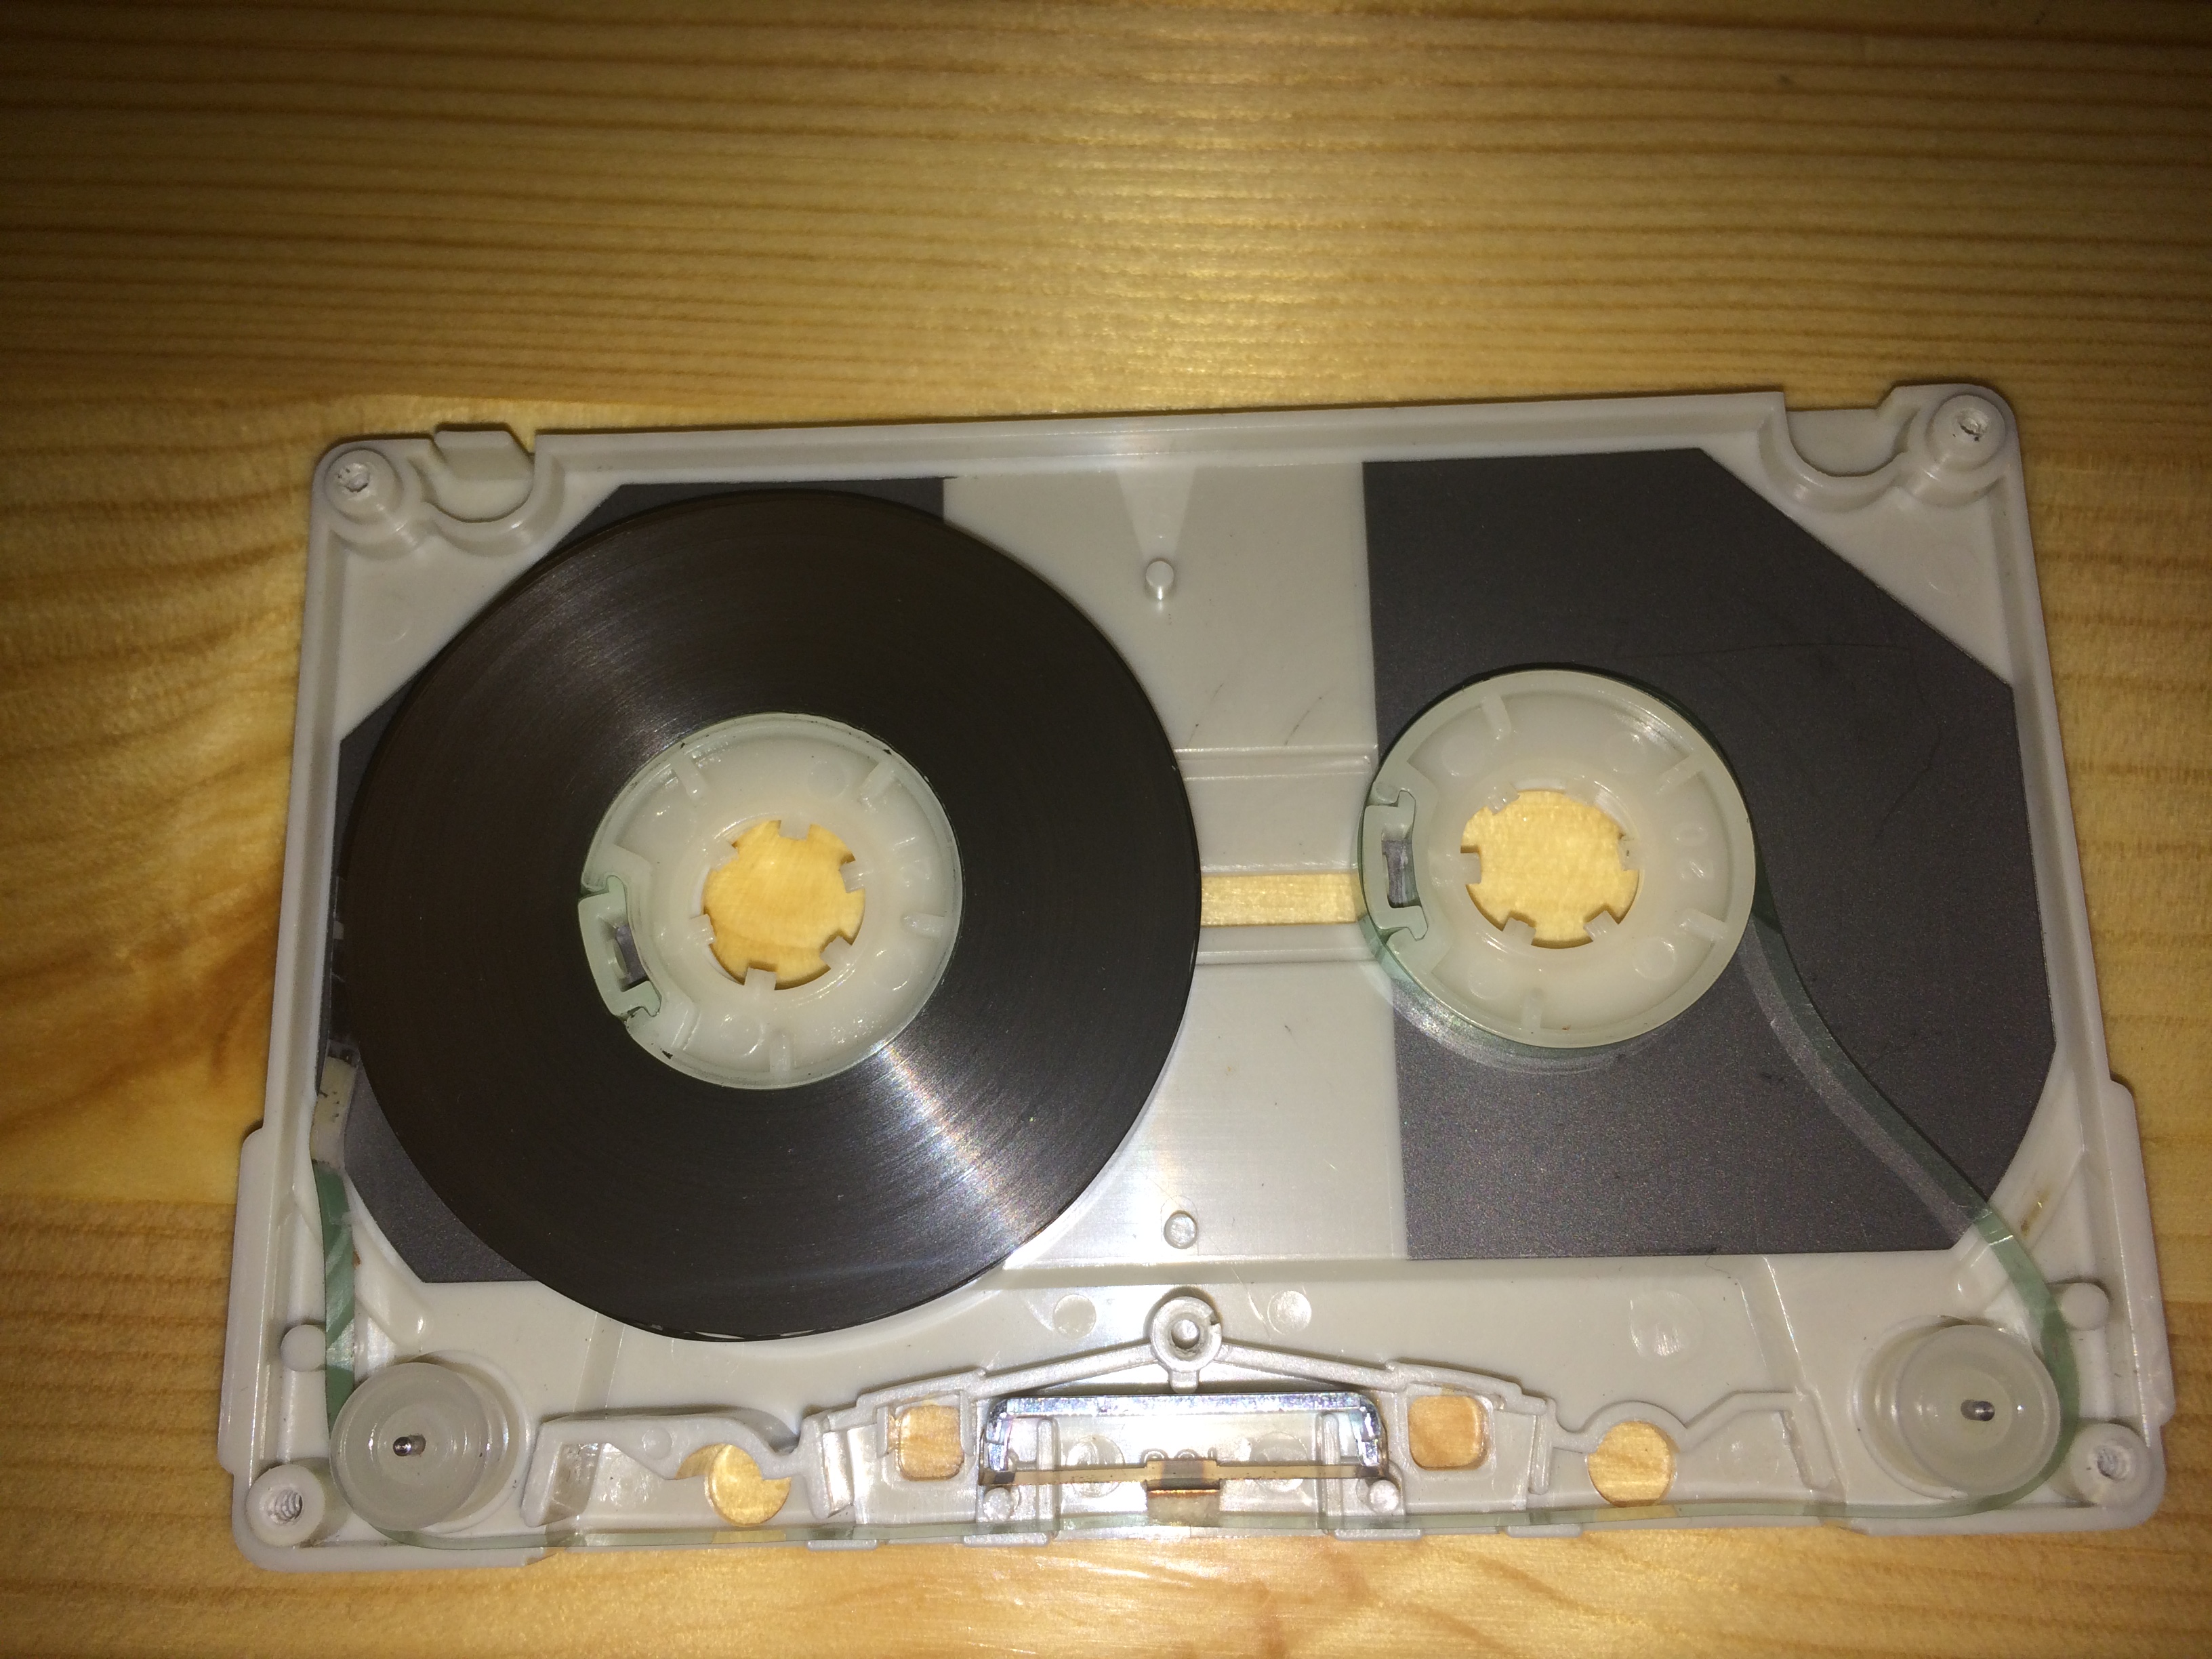
As we can see the tape has small details that sometimes can cause inner damage or in worse cases wear out the tape. One part is the Pressure Pad. If this part get dry or hardens under time, it reduces friction for the Tape Mass to travel as the Take-up Reel rotates. This must be sensed. If we take a closer look at both the Take-up and Supply Reels, we see there are two different materials going around. One is the Tape Mass and the other is Tape Plastic. This is because the Tape Mass is more sensitive than the Tape Plastic and also attached to the Reels, due it's more sustainable. This is all logic, so far.
However, the plastic part is harder and stiffer than the other part and the sharp welge between the masses can sometimes break it off or loss. This is the case we're going to have a look at in this part.
Analysis and Process

This is the tape we're going to repair. Things don't look great and we're getting spaghetti legs!
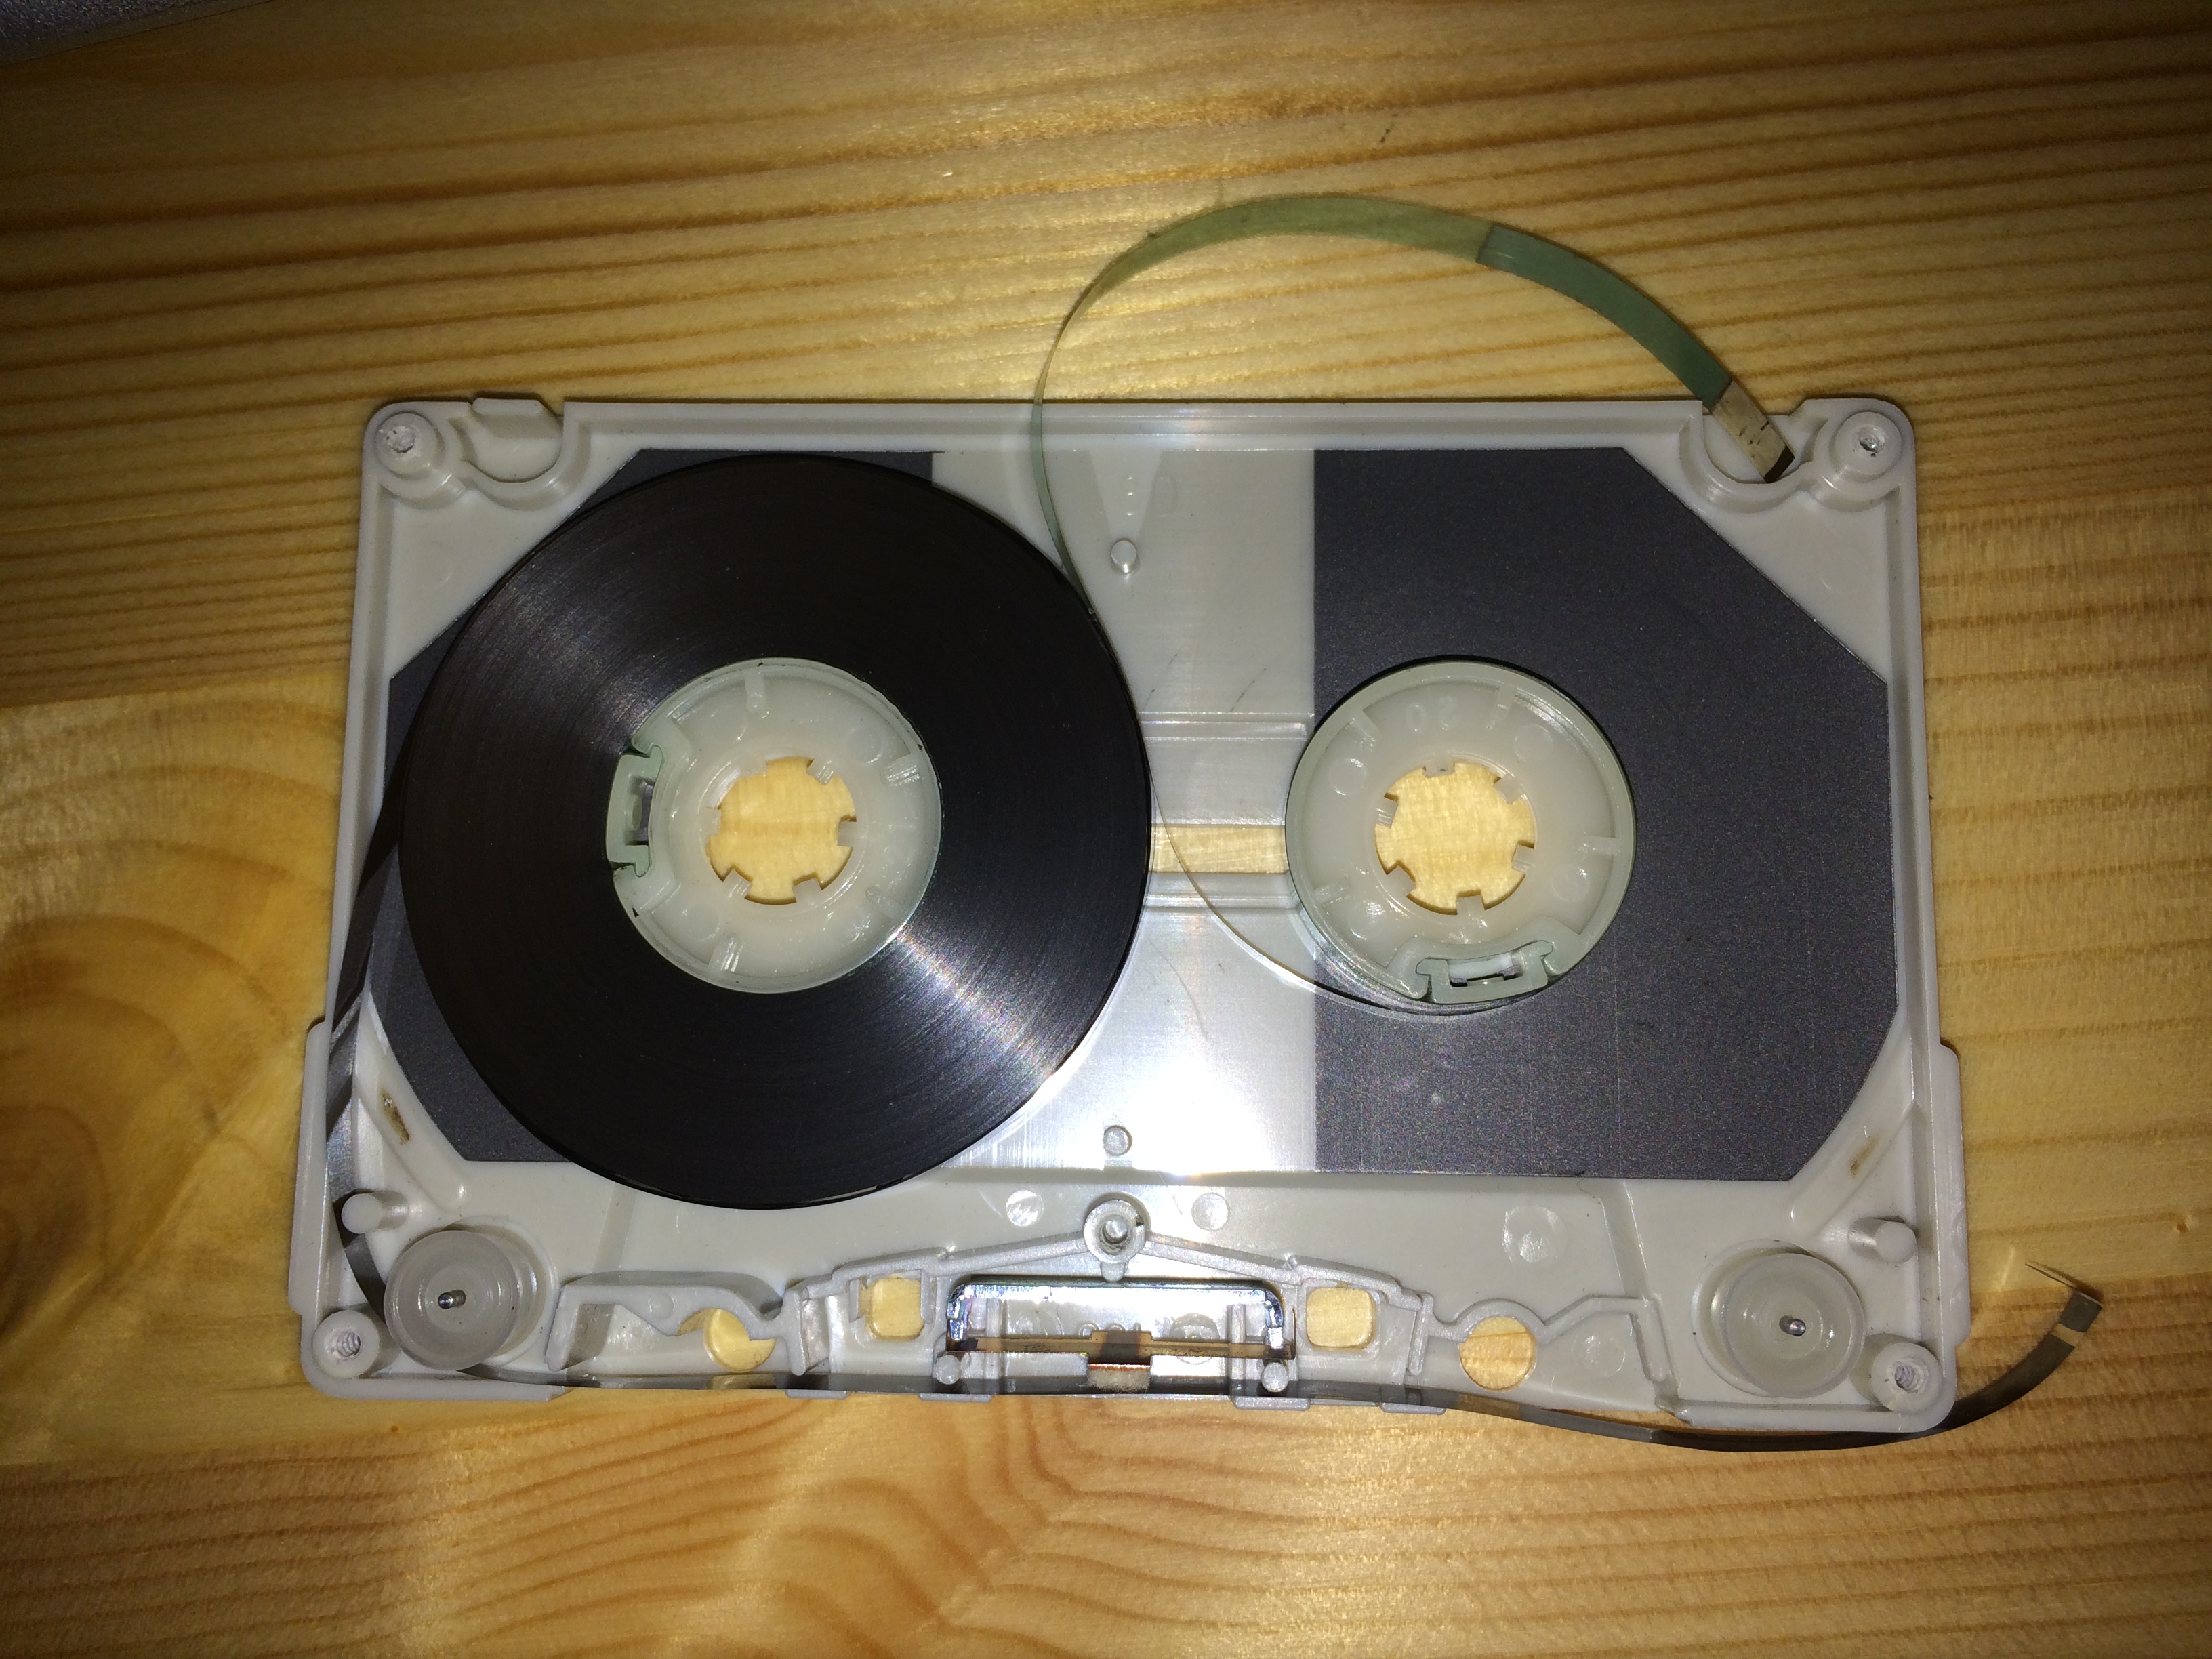
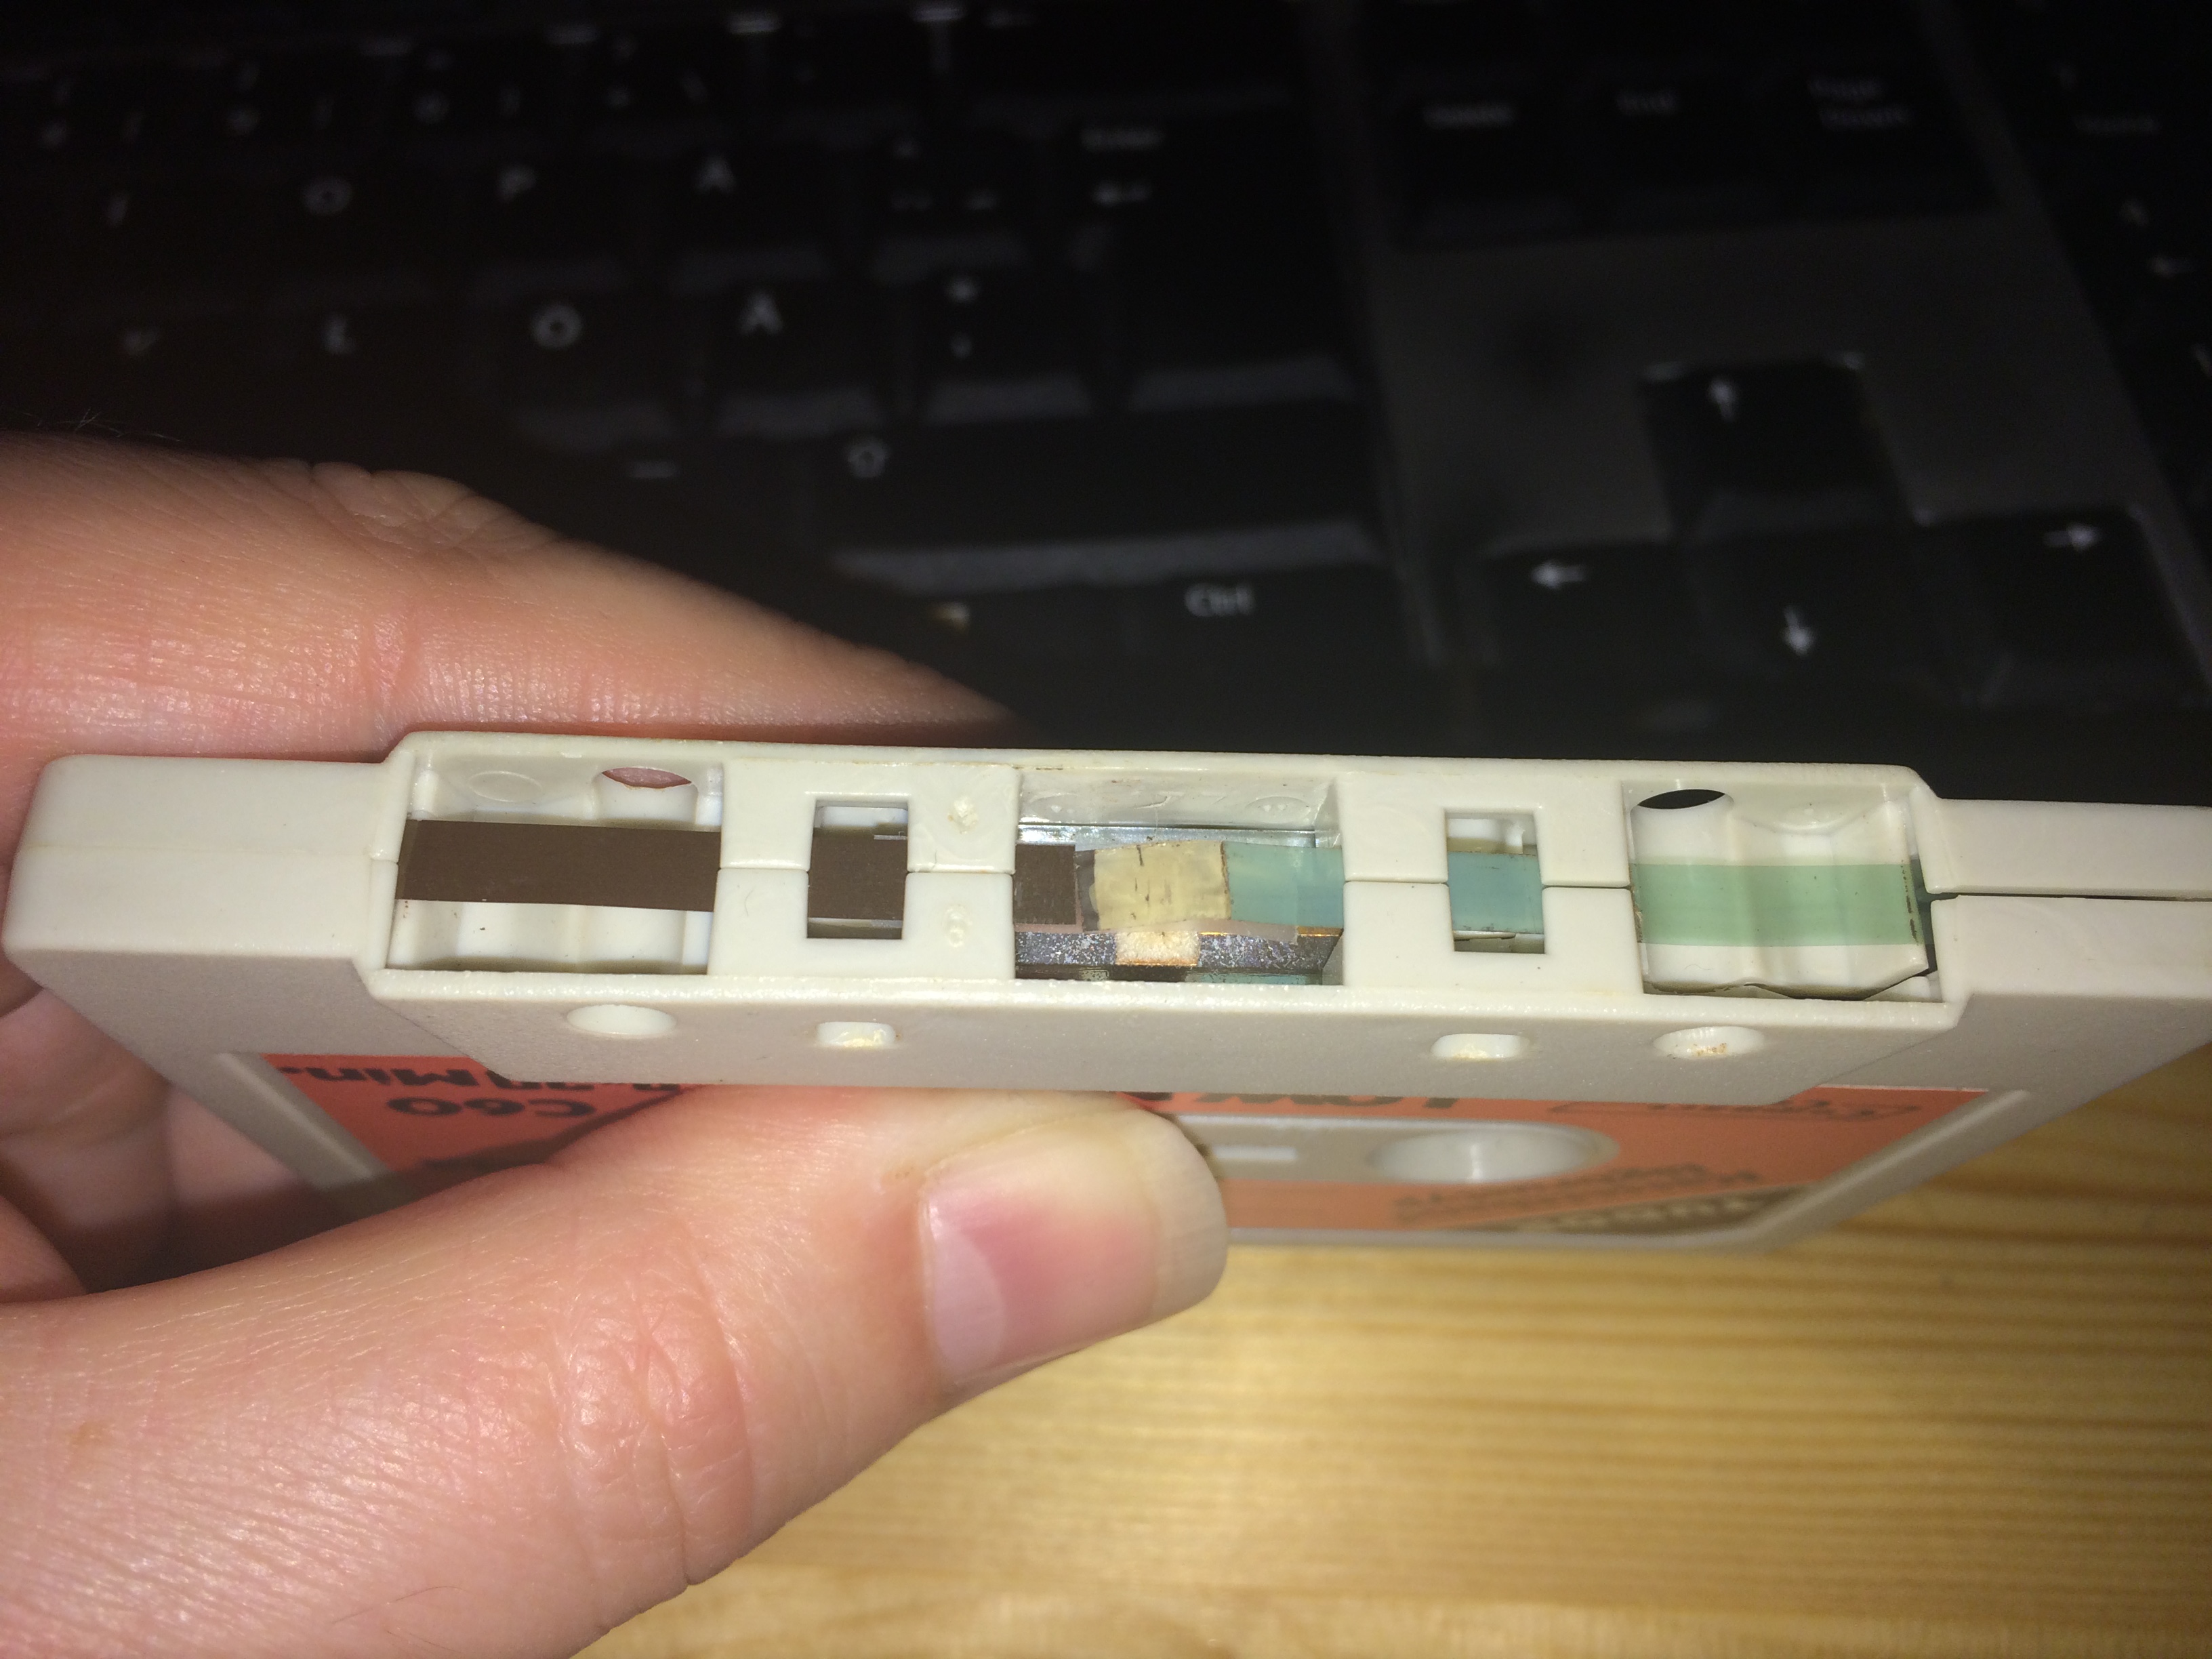
When we take a closer-up view we see it's a typical case as described in the background. It's a break part the different masses. How do we determine which method to use.
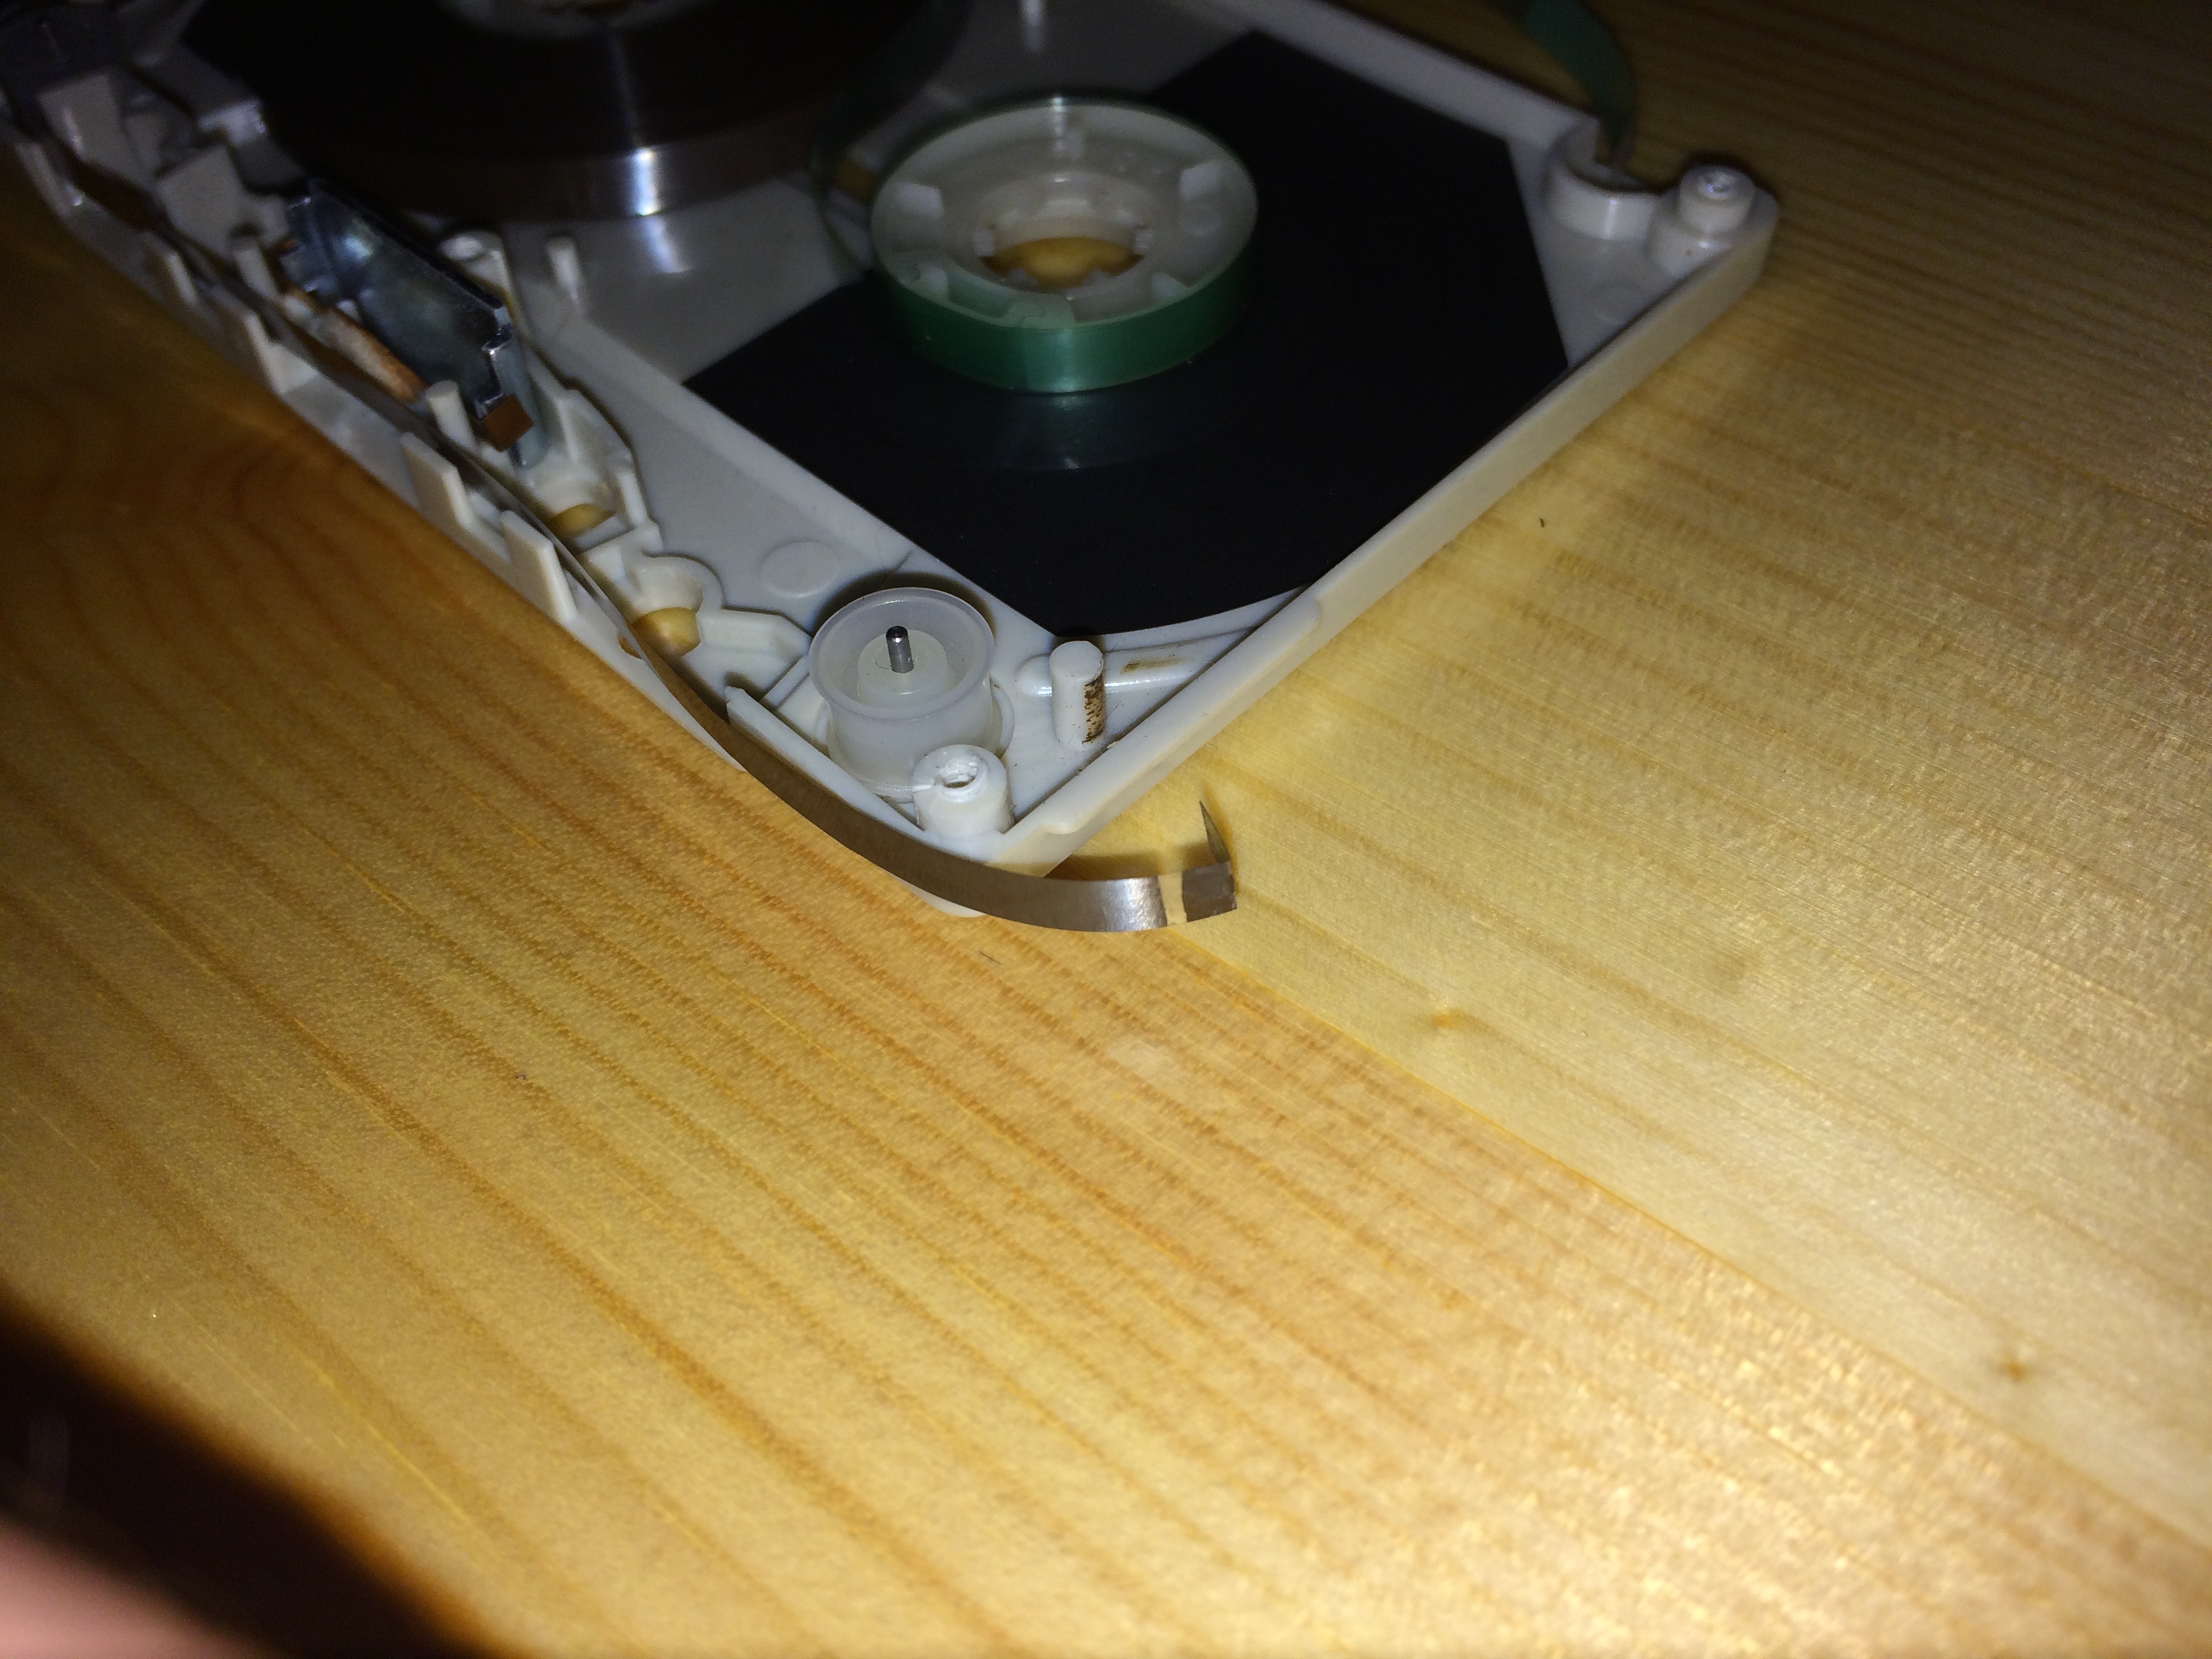
We see this is a clean break, that is just good. If it had been fractures or threads it could lead to make a clean cut, to merge the Tape Mass together. But still, this process requires a steady hand.
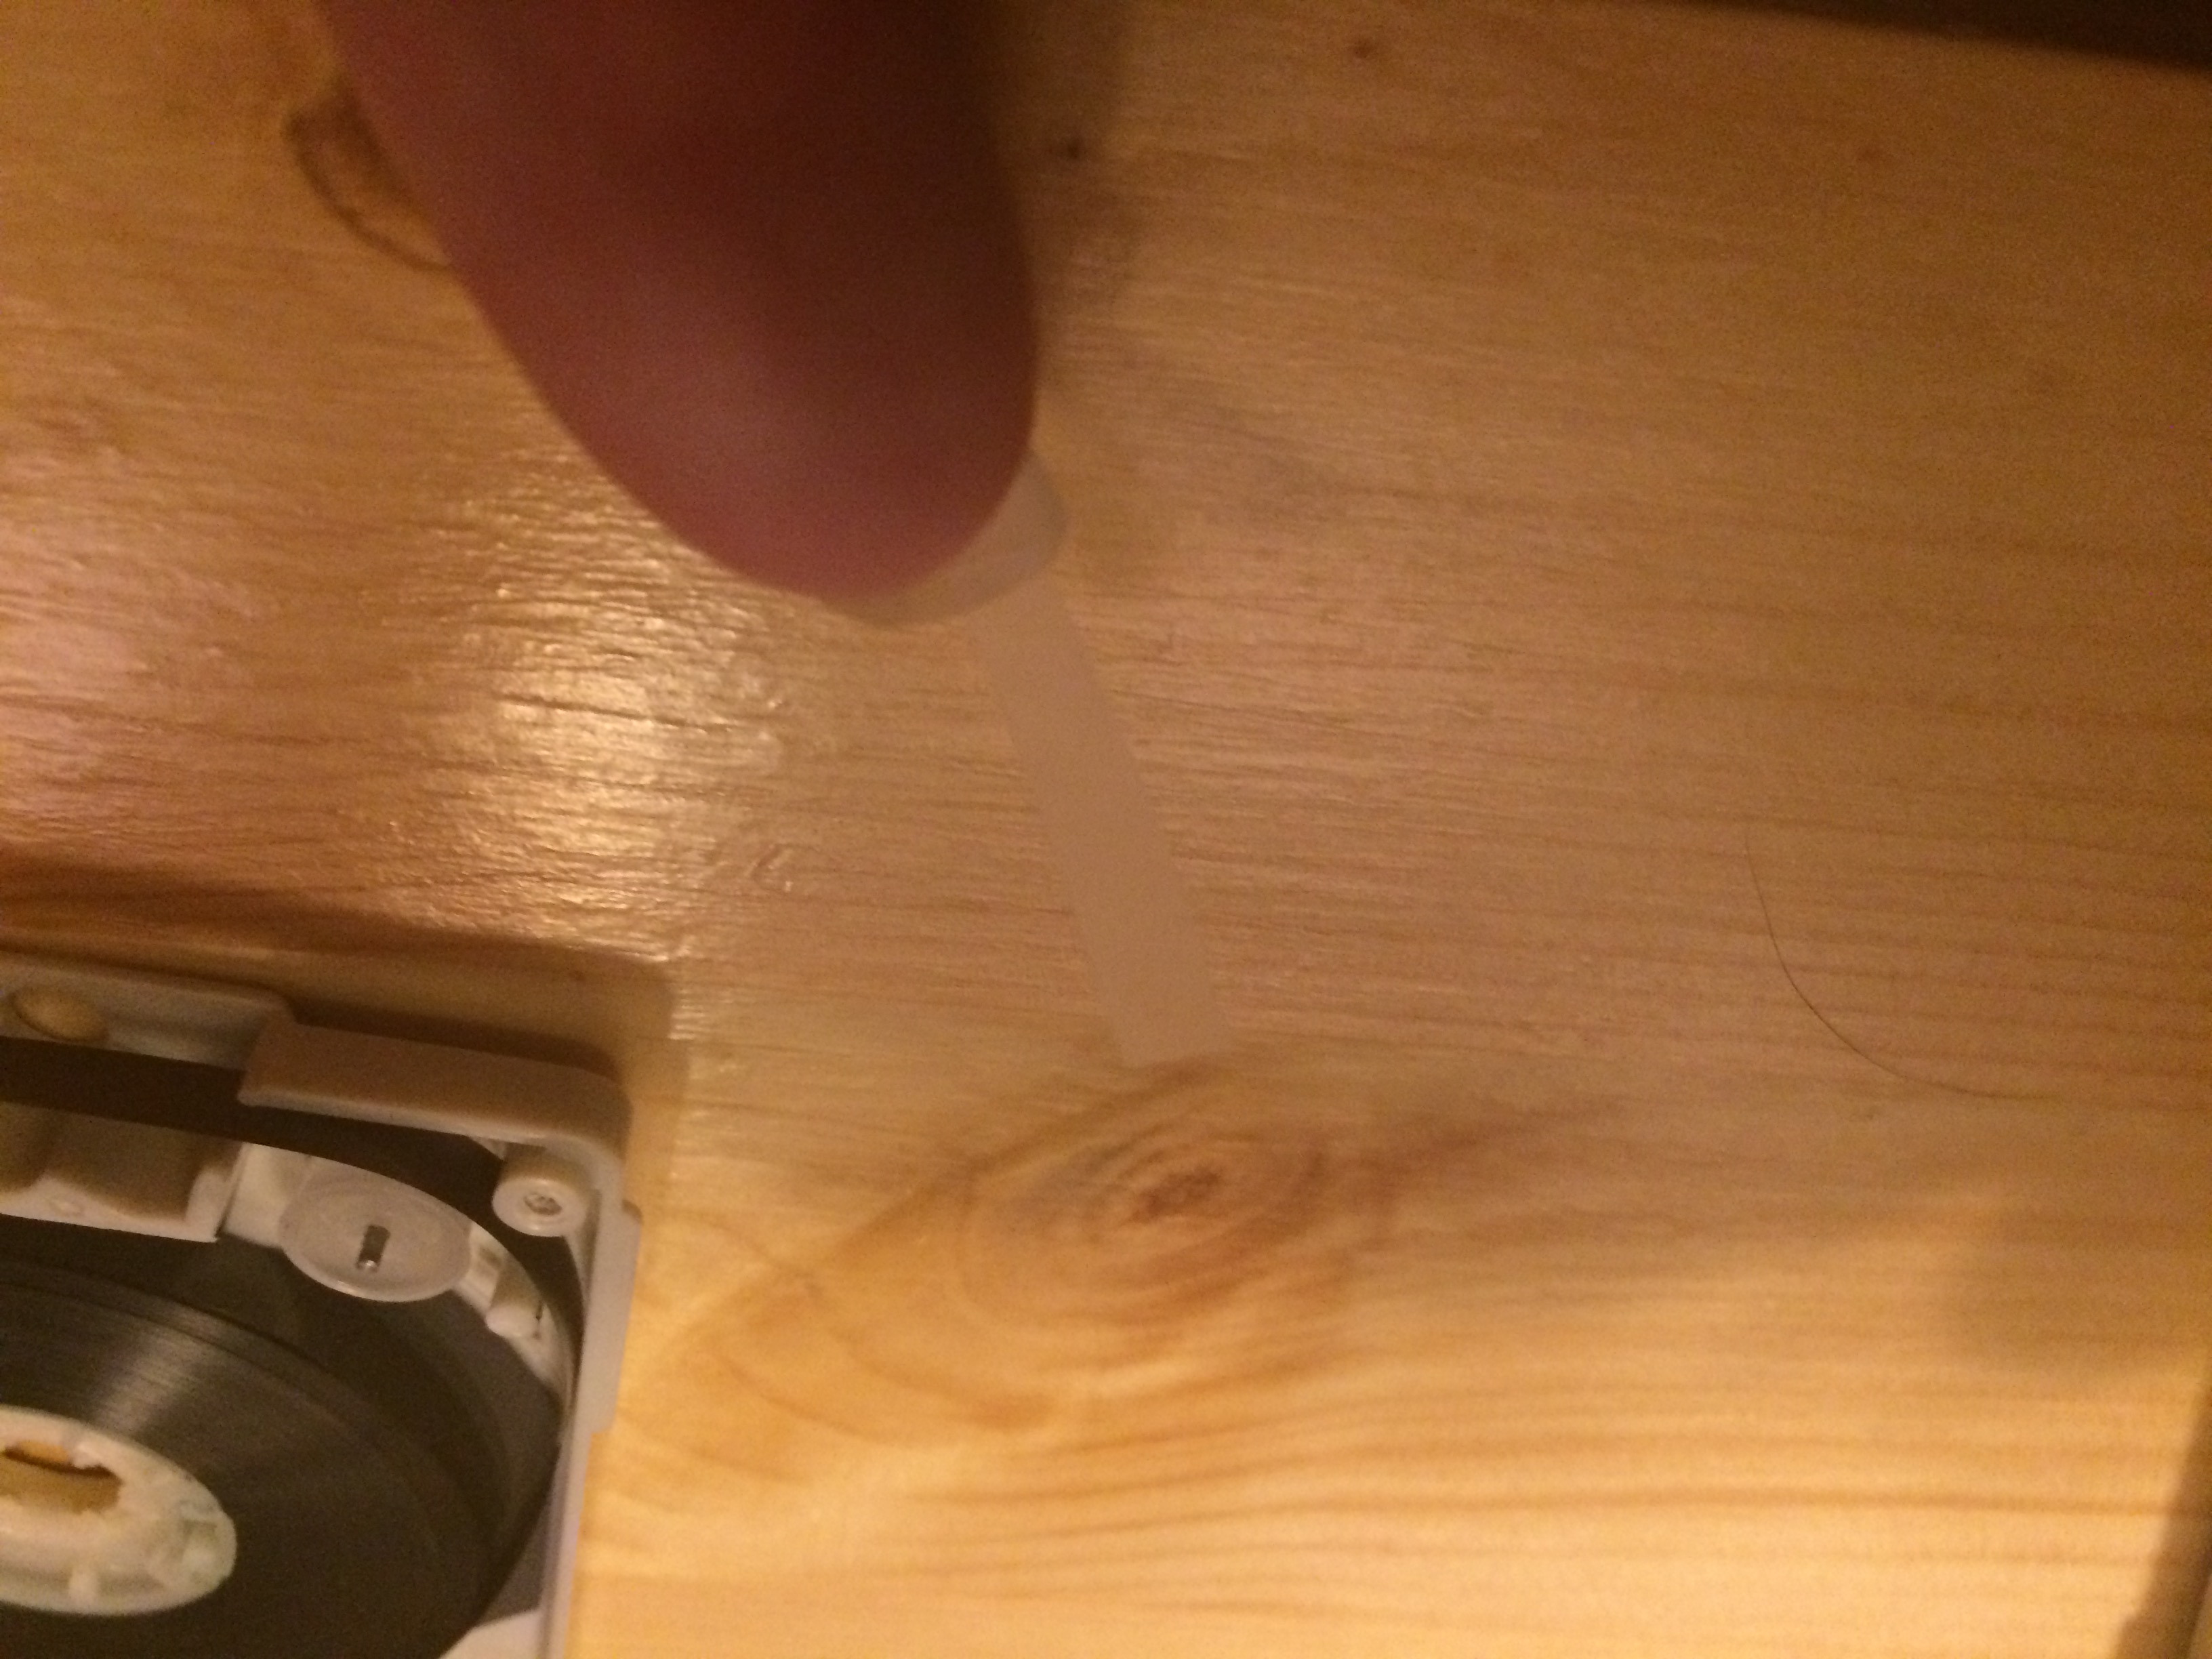
We have to use a special tape that is designed to be used with Tapes, else we just take a high risk that the different materials will reject the welge and cause bad work. or It can in some scenarios cause a sticky mess and tangle up the tape. This we don't want so make sure to use the correct tape!
Carefully the tape is aligned, fixed and ready to get taped. Try and do this as easy as possible if you use this "freehand method". I know there are some tape-tools specially made for this operation. However, I don't own that solution any longer.
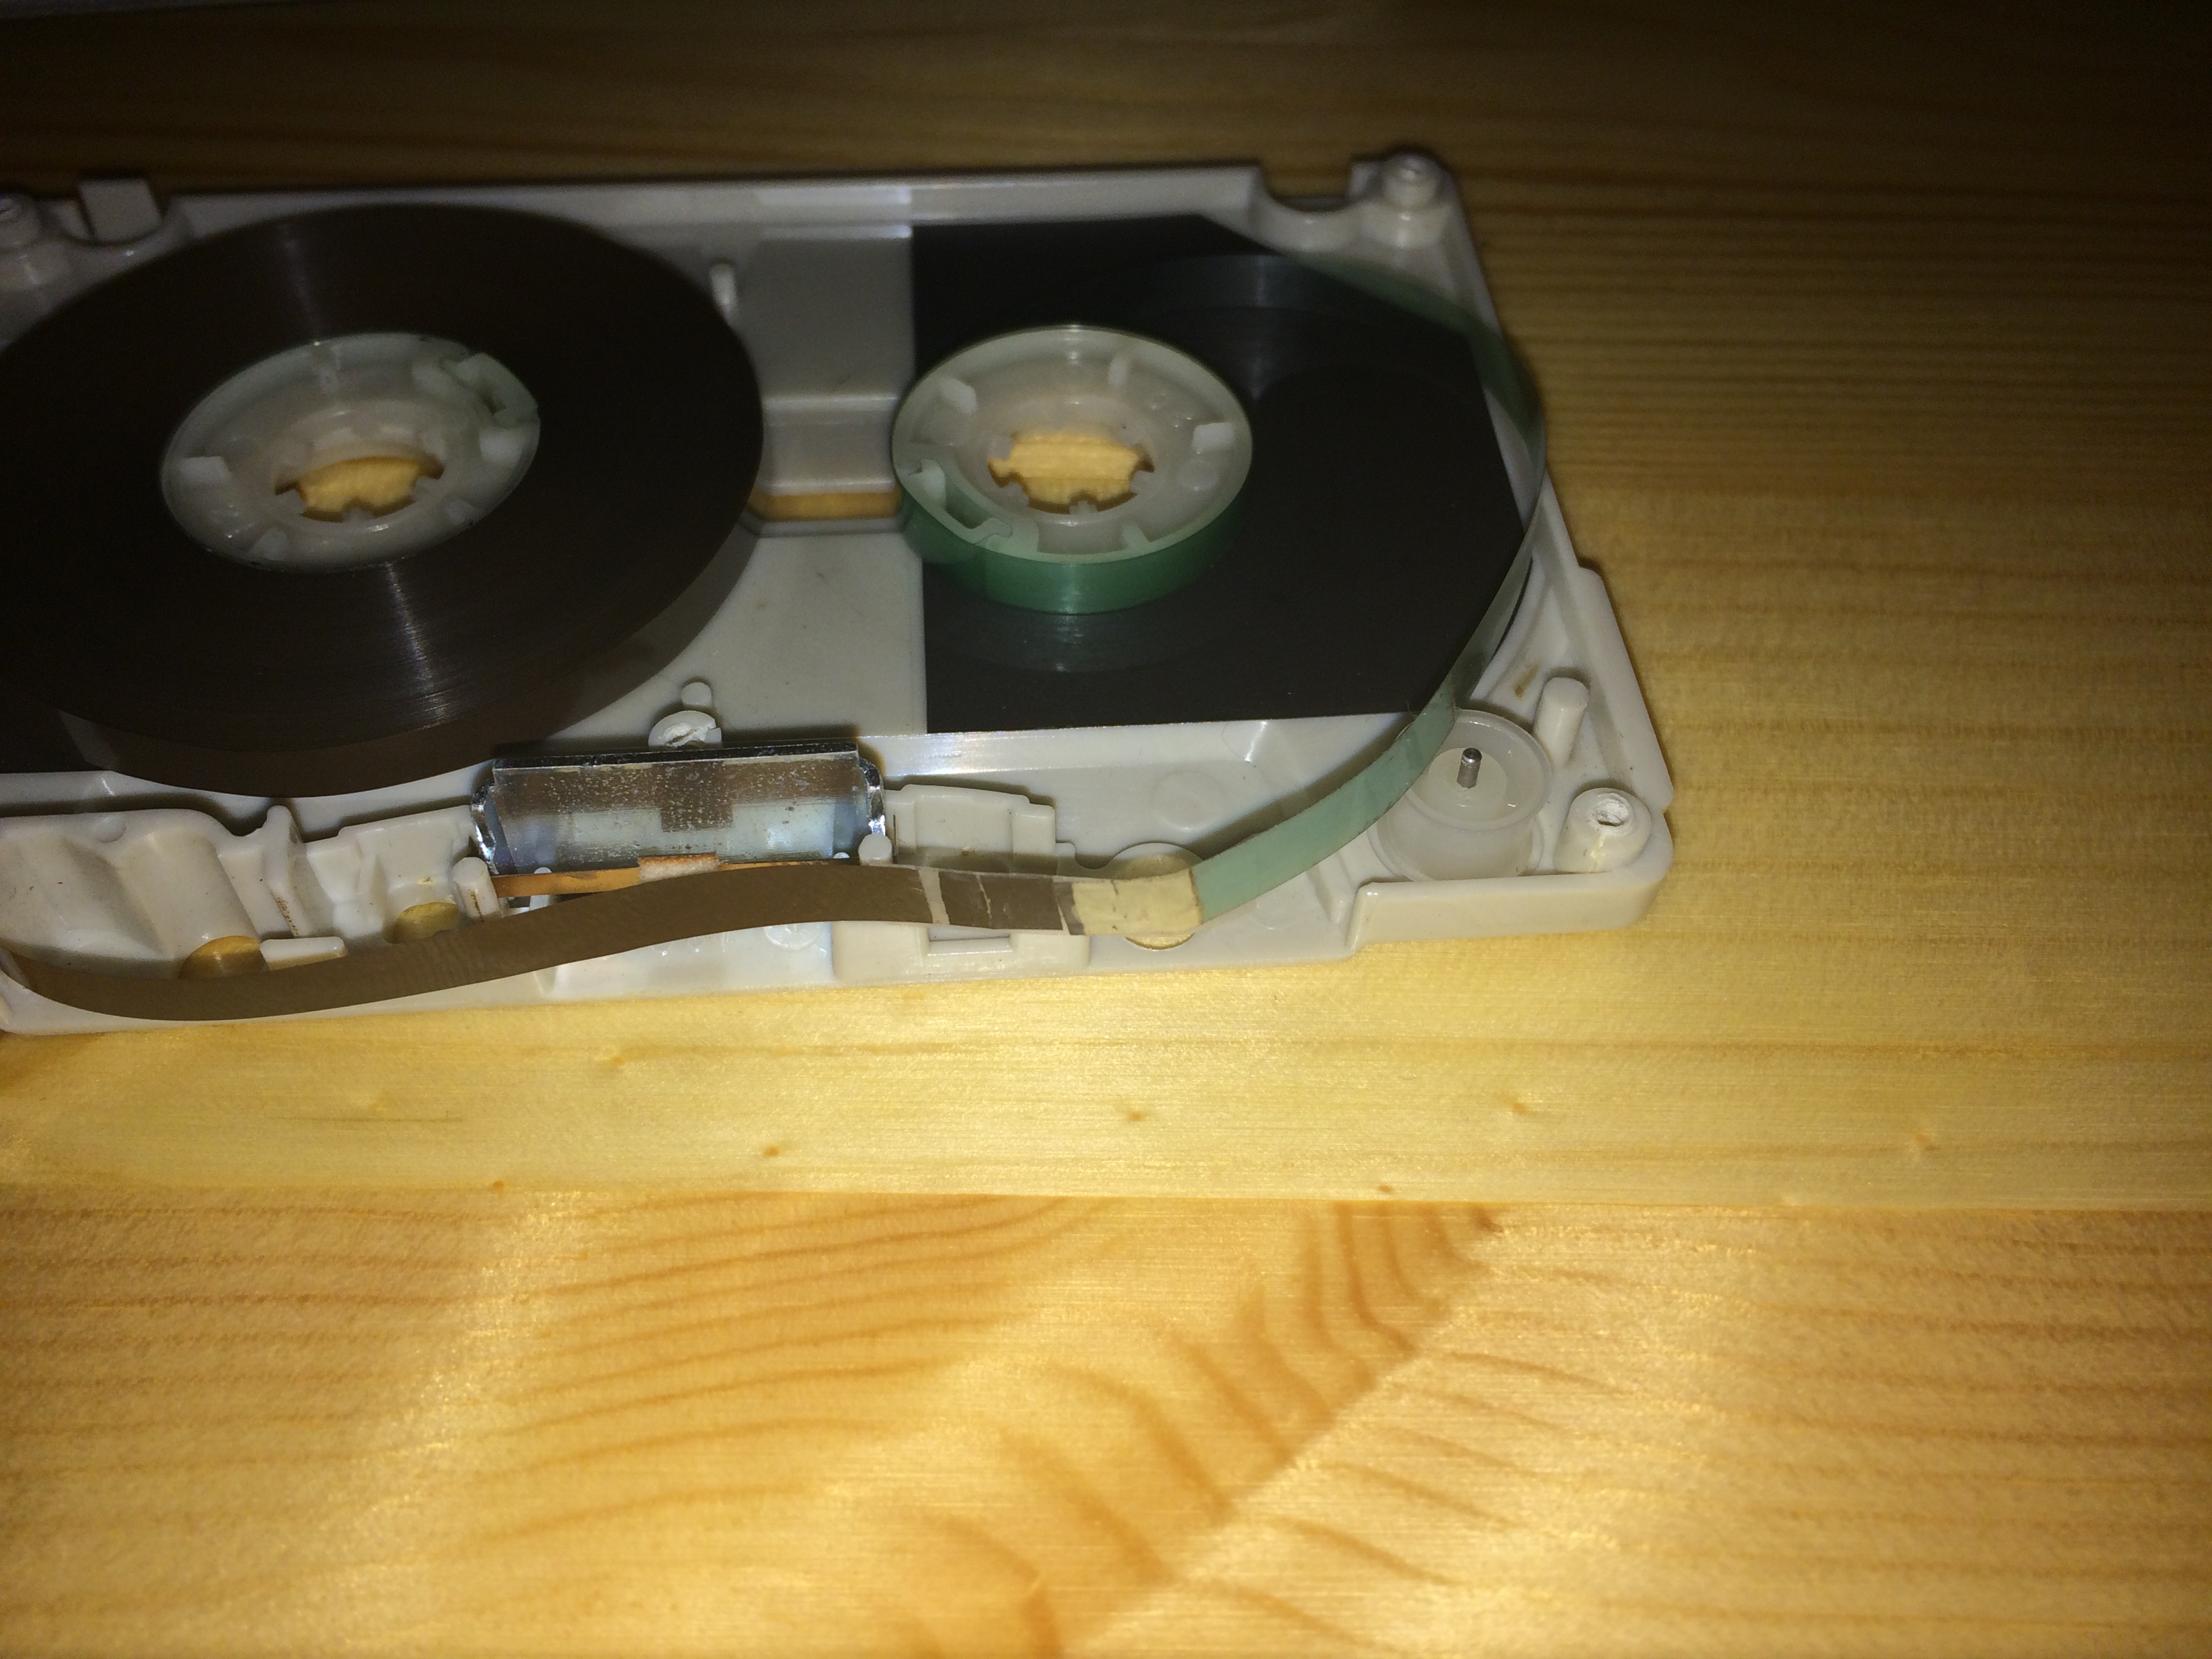
This is looking great! The tape is in place and yes make sure to put it back the right way so the Tape Mass will rest infront of the Guide Rollers and Pressure Pad, and inside the nibs and also NOT cover the Capstan Hole or the actual Screw Holes. After all we don't wish to damage the tape, again.
Here we can see the result! Looking good.

Before we start to sample the tape we pull the Tape forward just far enough to not let the mapped part touch the Read Head or well get stretched. All we want to do is get the data!
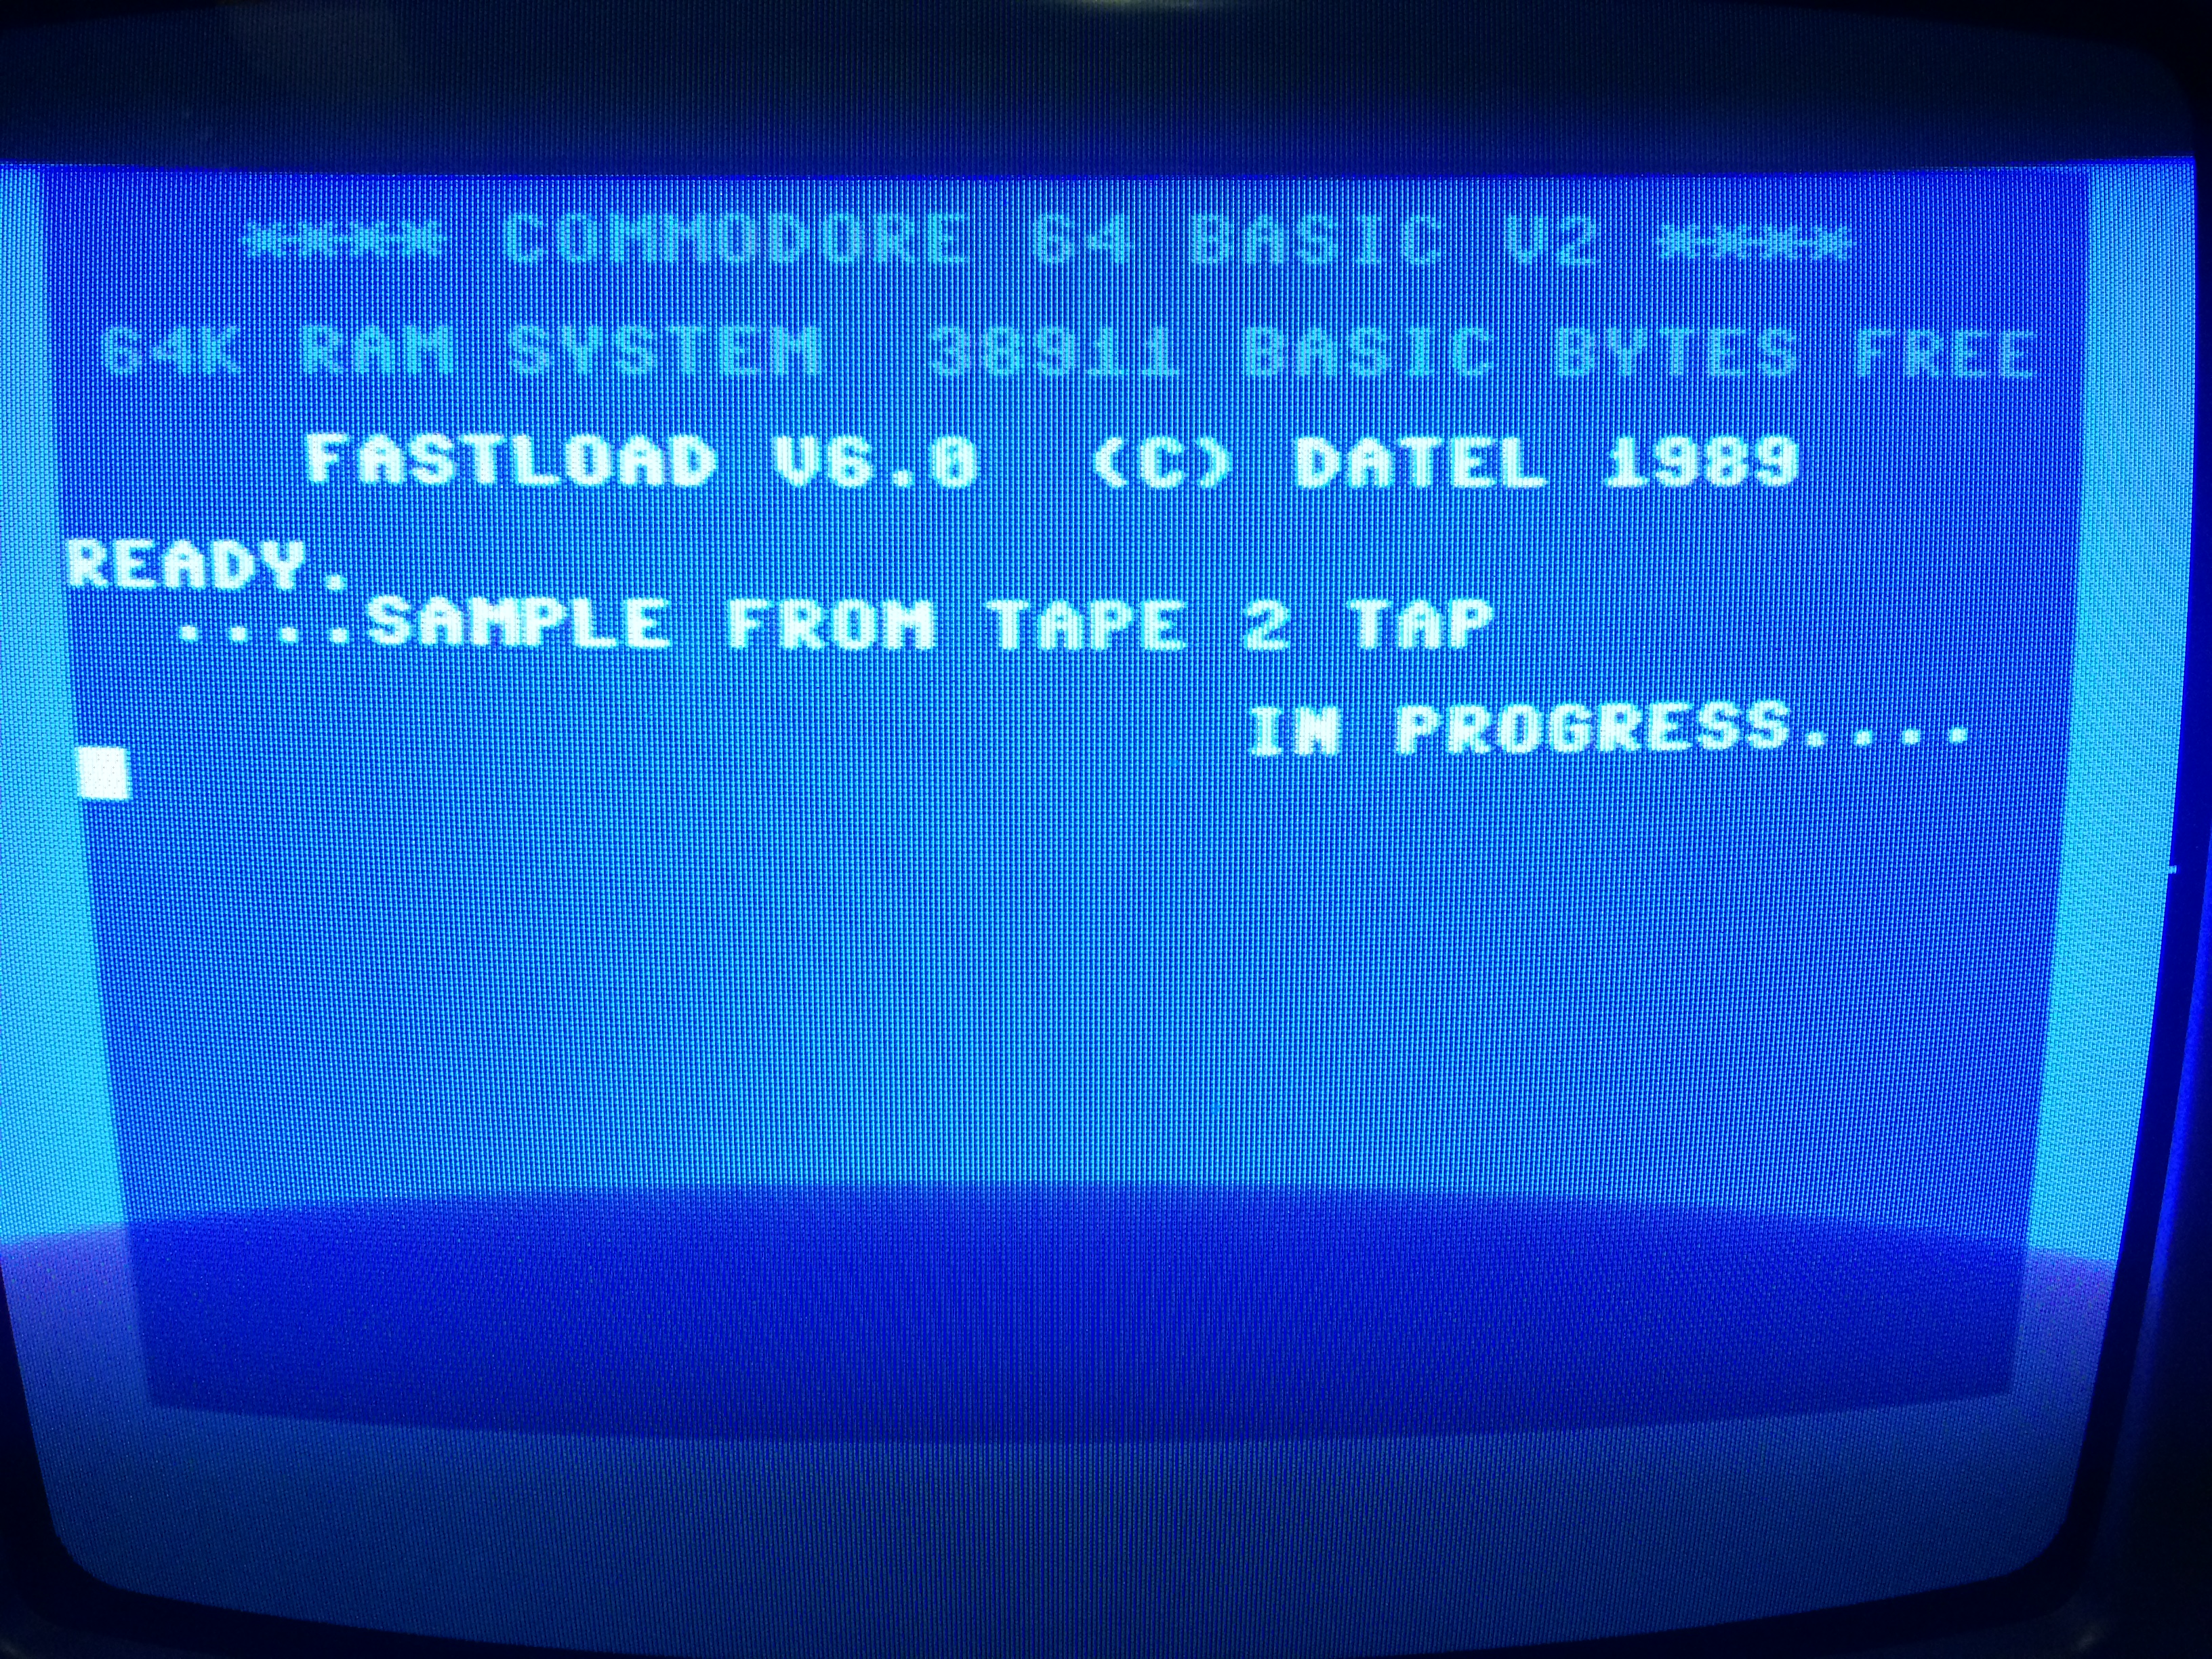
Work in progress and yes we will resolve the content.
Result
The recovery method used in this case is a classic tape repair method proven to be good. This method is used in many professional Tape Studios and can be applied to Reel-to-Reel tapes too and in some cases is used to build up a Drum Loop using a Vintage R2R deck.