Prologue
As we discussed the player is the layer that take care of Envelopes, Sounds, Filters, Modulators and Notedata, that construct the music heard from the SID Chip. Access the player can be done differently. One way is to execute the actual Music Routines and work in MCL, but this is for many very advanced and not the most efficient way to work. Well, it has some advantages as well. If you really want to have 100% control and optimize your songs for specific needs, this is the way to go but it requires programming experience and knowledge how the SID Chip and CPU is working. This is why there are frontends for the Players and Music Routines, called Editors and Trackers.
Editors
One of the most and heavily used Editor is Future Composer. FC offered many great features for its time and the clever design made music fun to create and work with. Future Composer also has a bit of a history involved over the years. Rumours said that FCS(Finnish Cracking Service) stole the music routine from Charles Deenen/Maniacs of Noise and released it as an Editor. Looking back in the history and time, I guess it was true. However, it’s part of the SID history and can’t be argued about today, I guess. Later on Future Composer got it’s own player and many groups improved it with lots of nice features. But there was another competitor out there called “Demo Music Creator”, it used the same principles as Future Composer but added way much more advanced editing features. The first versions of DMC was hungry on the rastertime but the latter versions were excellent. Since it got very popular to have your own players and editors the bigger groups made sure to have their own editors, that were customized for their own purposes and needs. Like if the coder wanted to have short amount of rastertime for the music, the coder would change the Music Routines. Also as always the competition was another challenge, to always be “the best”. If you could beat another it was like a rat’s race.
Let’s go there
How does a typical editor looks like?
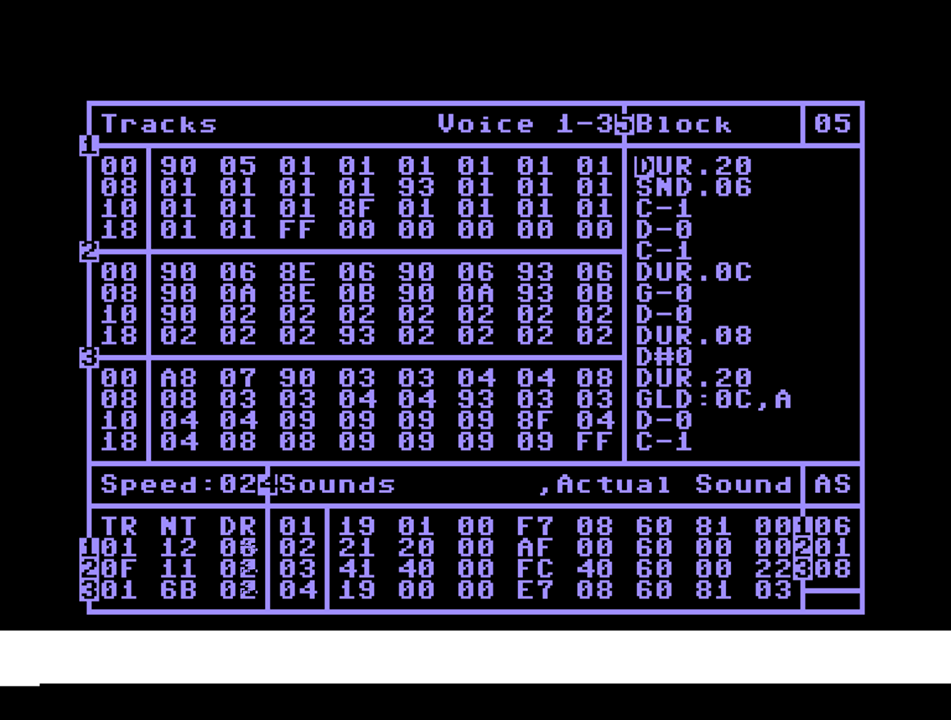
This is an example of the 20CC’s “editor”. The actual editor was never official, but someone hacked the player and made a Future Composer based frontend for it.
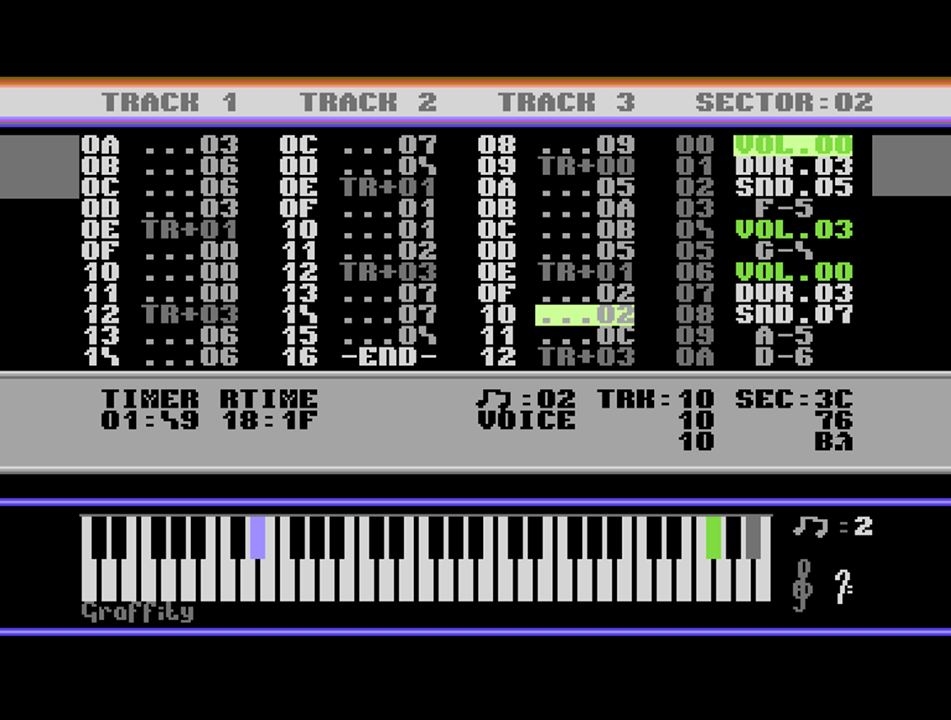
DMC V4 is one of the most used editors. It has lots of nice features and also one of the most user friendly in the DMC series.
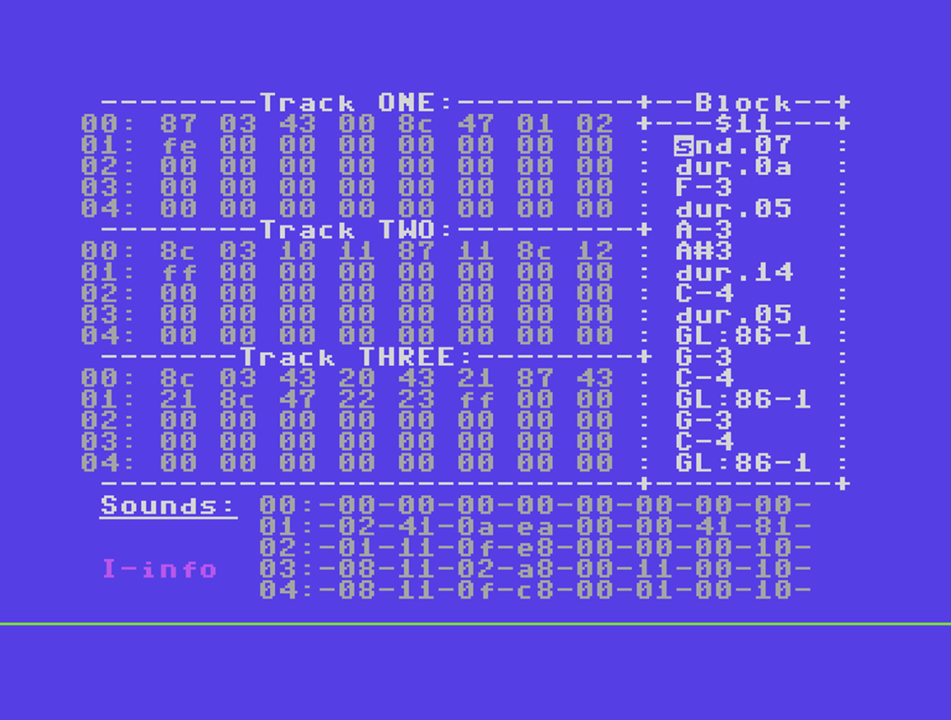
Here come the Finnish Cracking Service’s hacked Future Composer 00.18 V1.0. Which is based on Charles Deenen’s music routine. It’s well documented today that FCS ripped CD’s player due the sounds are from Scout and some very well known Maniac of Noise songs. However, still a legendary editor with a rich history.

This is a more recent version of Future Composer V4.1. It looks the same but has improved editor functions. The packer is also rewritten and faster. But yes, the Raster Time is not the best.
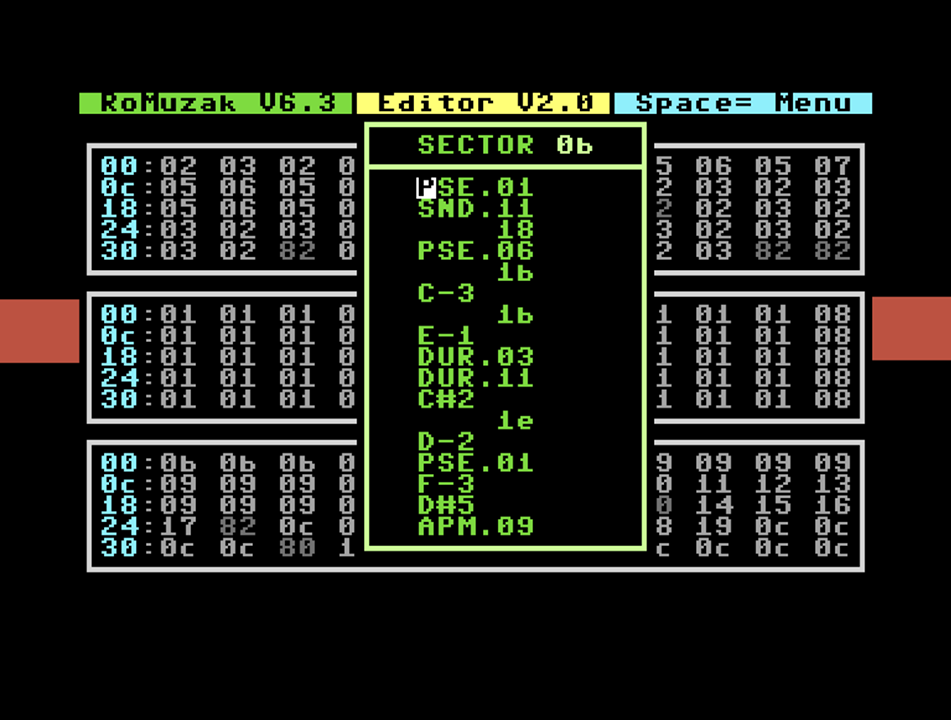
RoMuzak V6.3 is considered to be the composer! The composer is quite advanced and has lots of functions in the Sector and Commands doing special things. I haven’t really used this myself, so not much I can add to this, at the moment.
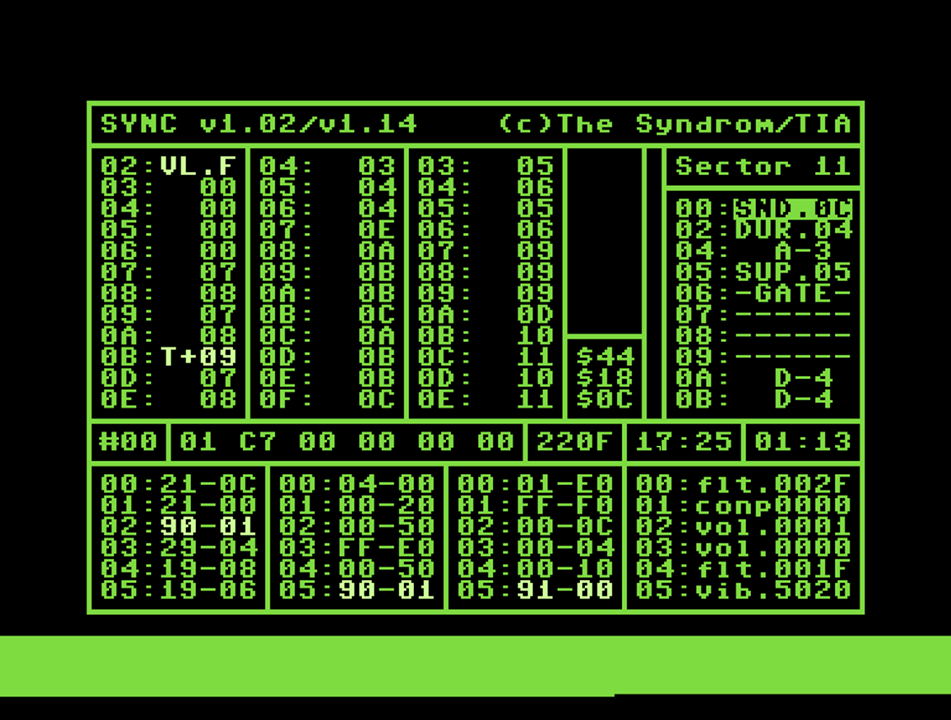
Sync V1.02/V1.44 is a real masterpiece when it comes to write music using very little Raster Time, with no expense on sound and quality. The Syndrom did an awesome job to make this editor.
The commands
The concept is pretty much the same when it comes to Editors. You’re working with small programs accessed by commands. Each of the commands executed from the Sector will tell the player what to do. In this example I will use “Comptech V2.1”. The principles are the same, it’s just the names and functions that are different from program to program
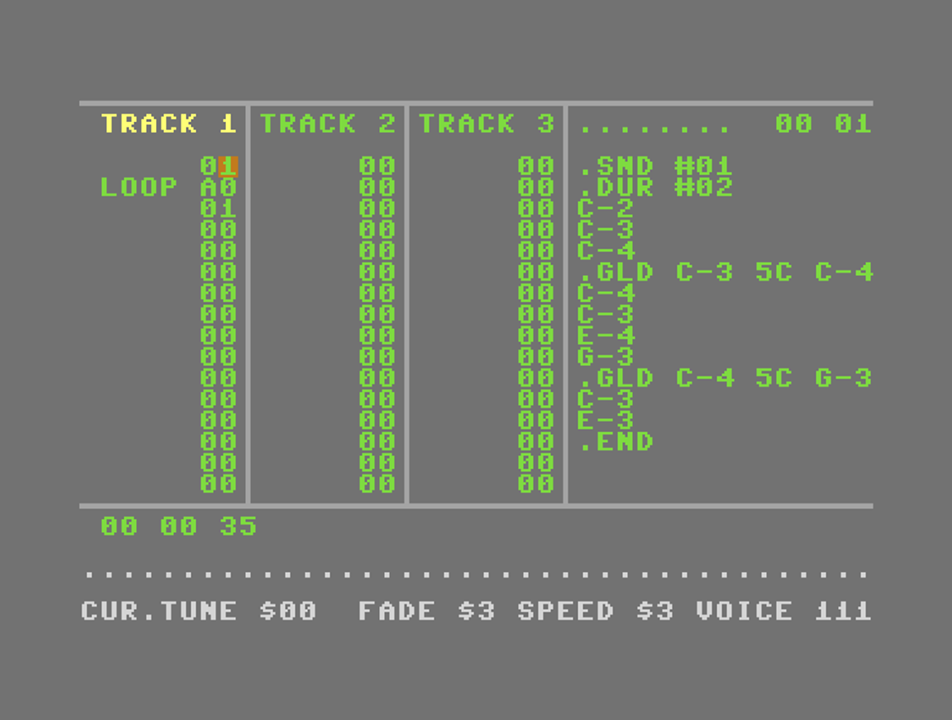
This is where the song is arranged. The screen is divided into Track 1, Track 2, Track 3 and the last part is the “Sector”. Since I haven’t fully explored this editor 100% and yeah it’s been long time since I did. I just set up a simple example for this purpose. In Track 1 we’ll play Sector 01 and after it’s reached end, it will loop to Sector 01. The A0 command tells the track arranger to loop. This command can be changed to FF for end, EF to init. etc. It can even transpose a Sector but yeah more about this later on. Track 2-3 are not used.
When we dribble to the Sector part, we see what at first sight might look like hieroglyphs but it’s not that complicated. Let’s come around this with two things in mind. There are two things to keep track of. One is commands and one is notes. The commands are executed with a ., while notes are typed in from C-0 to H-7. The number is octave and the letter is the note, like a piano.
.SND #01 will use sound 01. The .DUR #02 will set the duration, also known as speed. The duration is often equal to frames. So 1 is the fastest and the higher value the slower it will go, with some exceptions. Sometimes when the value extend 7F, it will revert and go slower. C-2 will play note C in octave 2, as well the next will play C in octave 3. When we come to the .GLD, it stands for glide. This command is very useful to add dynamic to a song to make it sounds less “static”, if that’s not the purpose. In this case we set the glide from C-3 to C-5(an octave) at speed 5C. In this case the speed will be fast. We want a relative fast glide. Also, sometimes the glide command can be called slide .SLD, it depends on the editor and what flavor picked.
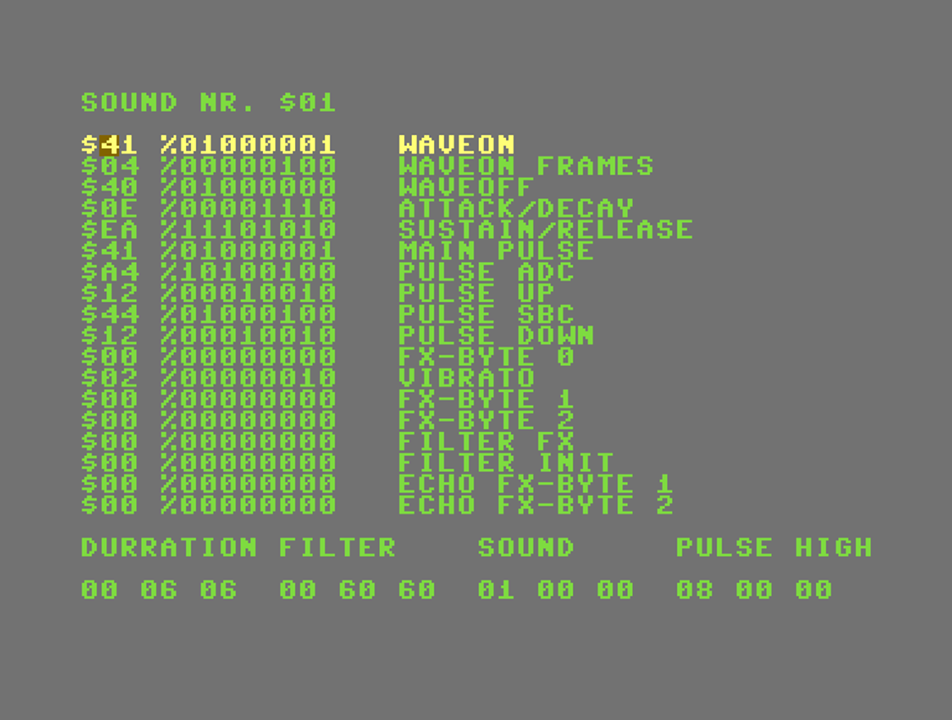
This is how a sound is defined. Again it might look like some kind of deciphering system with all the %10011011. But this are bits used to control the SID Chip directly. It means that if you want to bypass the existing commands you can set the bits directly. Anyhow, let’s go easy and explain the steps used.
Waveon is the actual waveform used and in this case we’re going to use a pulsewave with gate on $41
Waveon Frames define how many frames the waveform should ring, in this case set to $04
Waveoff is the opposite to waveon, it asks what to do when the waveform will do when it’s off, in this case the gate is set to off $40
The following two lines defines the envelope for Attack, Decay, Sustain and Release, in this case we want the sound to start at once so no attack is needed and we want fast decay and sustain and slow release, $0E, $EA
The next five lines are for modulation, it will tell where the main pulse should start and how much addaction, how fast it should raise and how much subtraction, how fast it should fall. In this case we set the pulse to $41, which is quite a nice decay and we wish to rise the pulse $A4 and hold it for around $12 frames, and fall fast and ramp around $12 frames. This is very unique for “Comptech” and might be able to achieve other ways in other flavours of an editor.
Next up is no FX-Byte but we wish to add a little vibraot $02. The rest of the data is not used in this example but it uses the same principle as for all of the data.
The best way is really to play around till you get something sounding good, and don’t be afraid to go bezoik, you can’t really crash anything and if you do, you learnt the hard way 🙂
How does this work
We have now done the “basics” and it’s time to see what we have done. This editor has an exceptional feature to export into assembler! For us this is great, so we can get a better understanding about what’s going on.
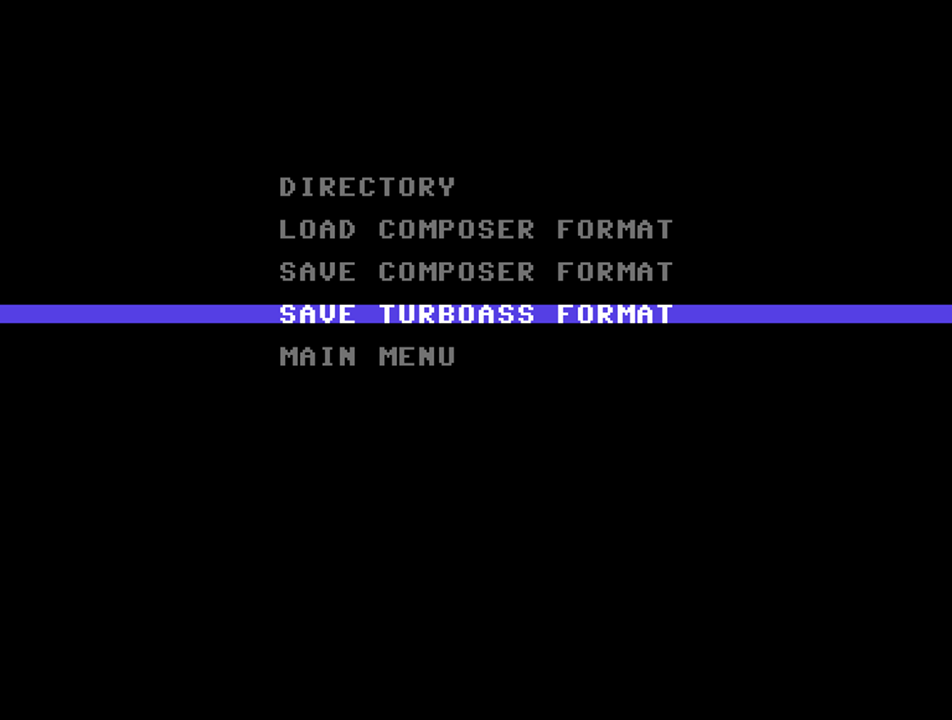
This is how to export to TurboAssembler format(TASM). No worries, yet.
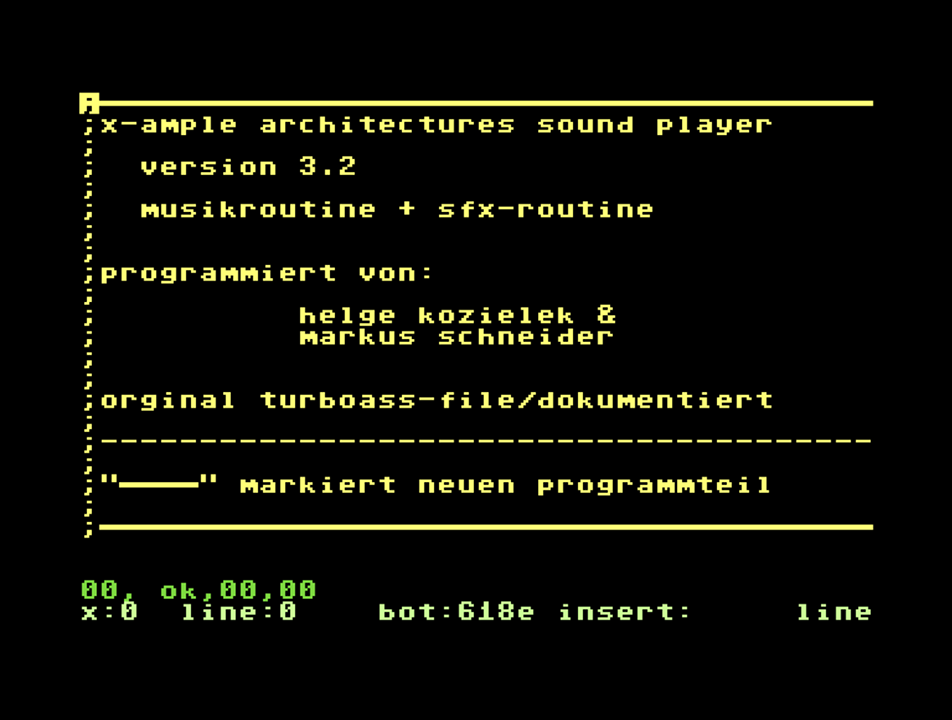
The player and some credits! We want to be as polite as possible.
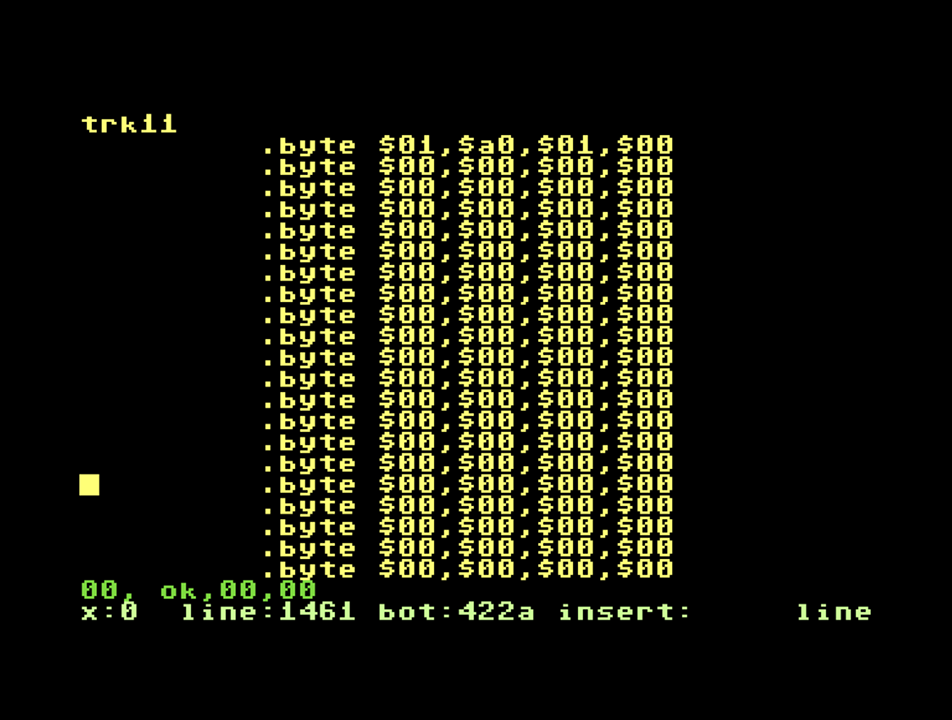
What we see here is the Track Data, we can see it tells Track 01(TRK11) to use Sector $01 and $a0 set the loop to $01.
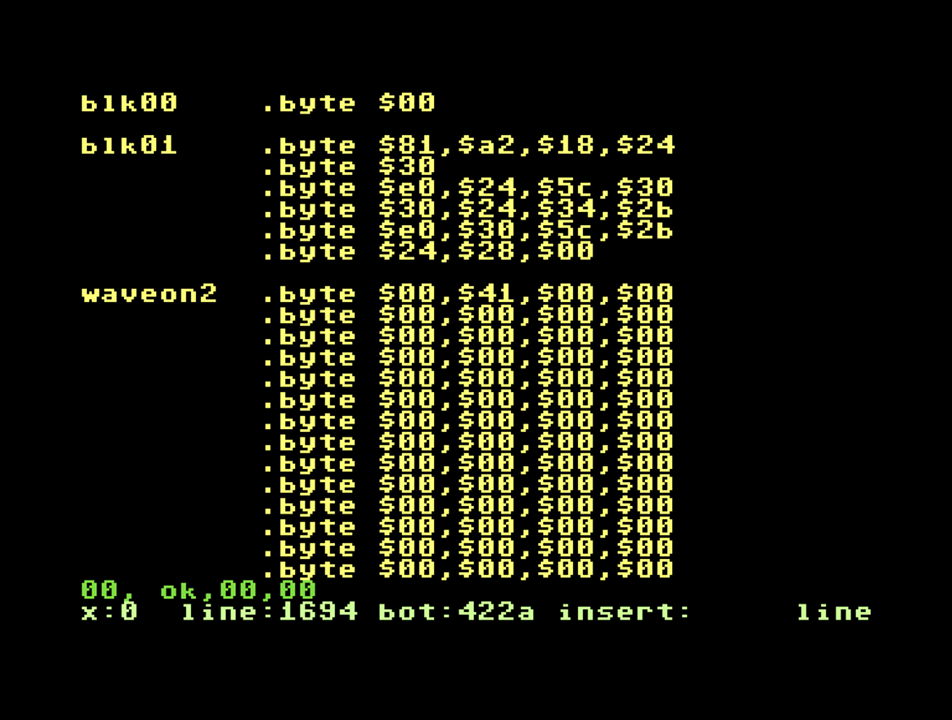
This is how Sector 01 is looking like. Sector can also be named Blocks, again it all depends on the flavour. Here we see the “MLC”, which corresponds to Sound, Duration, Notes and Glide. We could analyze this even deeper but it makes no sense in this example.
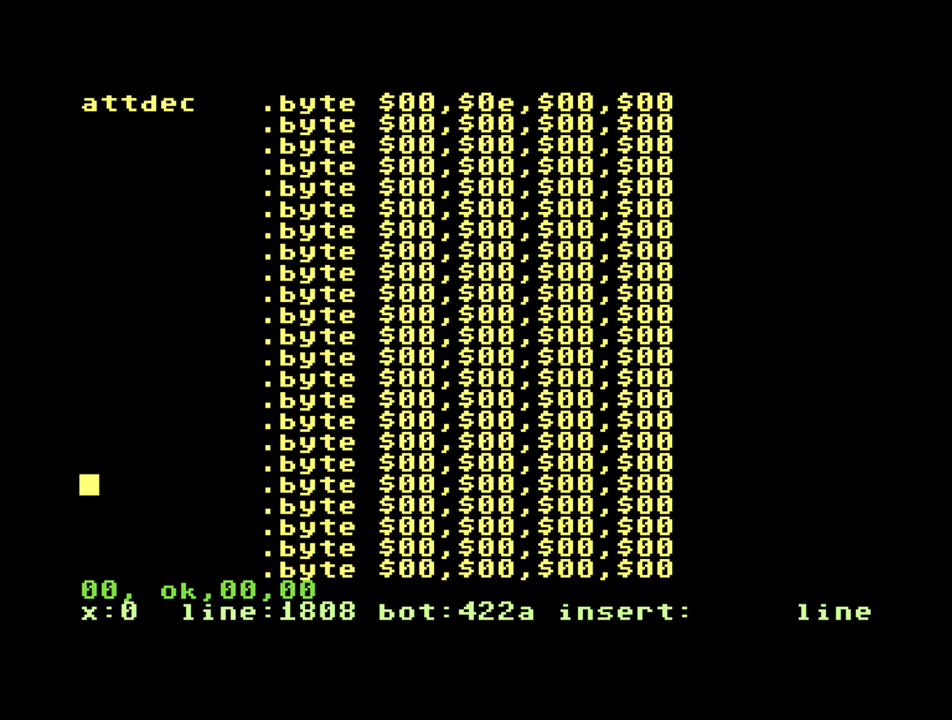
This is the Attack and Decay for Sound 01.

This is the Sustain and Release for Sound 01.
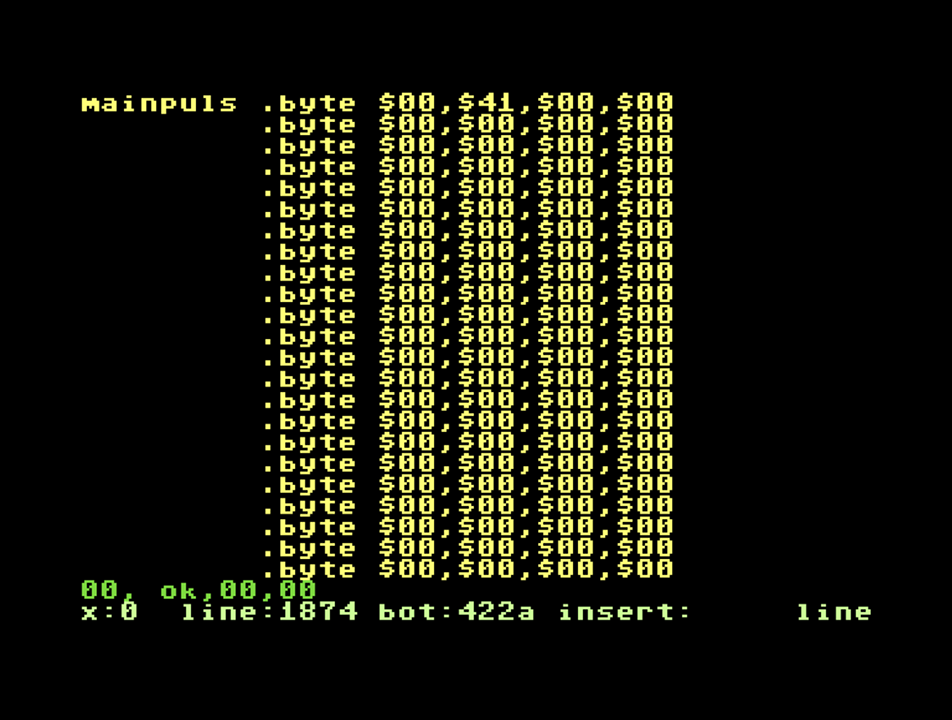
This is the Main Pulse for Sound 01.
We could analyse the rest of the data and come to the conclusion where all data is and that it actually matches what we typed it.
Conclusion
As we have seen the editor spits out lots of data when saved as an assembler-file. Even if most editors come with competent packers, there are times when you must or want to optimize data by hand.
If we look at how much “zero data”, that is stored in the output file, this is what’s known as an unpacked data source. and What the packer will do is look for unused data and remove it, also pack track data and wavetables. Even if most of the Editors are similar to how Trackers work, the workflow and layout is different. They are basically the same because they drive the player just the same way. The Tracker might be easier to understand if you’re used to PRO-Tracker, while the Editor might be easier to understand if you prefer to work in a more logic way. When I say logic I mean the way it is constructed the way you control notes with commands and numbers, than in a Tracker when you have a graphical view. Like said before. The commands are almost the same in Trackers and Editors. However, they differ in terms of how they are executed. A generic Tracker allows two lines of effects per line, at most. Meaning you might only set the volume and have vibrato. Of course there are Trackers with special commands to get around this, but for this comparency let’s go easy. To compare this example with an Editor you can in some cases stack up up to six effects per line. Both ways have their quirks. When stacking up lots of effects the CPU/Raster Time will go up and cause the player to do more work and reduce Raster Time for other things and sometimes the player can get out of sync. So as composer you must keep this in mind.
/Xiny6581